MISSION BRIEF
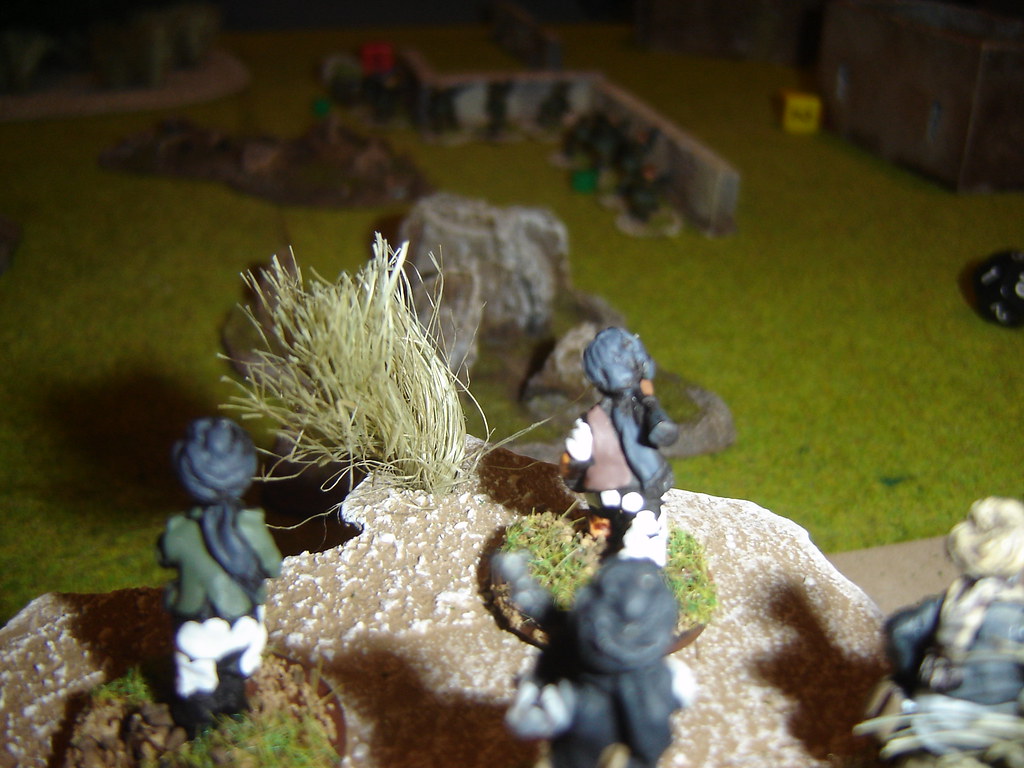
The SAS force, callsign: 'Dragon' has successfully infiltrated Pakistan from to surveil a suspected weapons cache which is being used to supply the Taliban and bring back evidence of who the supplier is – a faction within the Pakistan government is suspected. Unfortunately, they were ambushed by a large force of Taliban and were cut off from retreat. Dragon made for the crumbling remains of an old farmstead, which would provide refuge for the beleagured team.
During their last communication Dragon requested an emergency extraction. An American CH-57 Chinook, callsign: 'Grim' has been scrambled but will take some time to arrive at the nearest extraction zone that is approximately two kilometers due west of Dragon’s current position. Dragon will maintain their defensive position until Grim contacts them whereupon they plan to break cover and make a dash for the LZ.
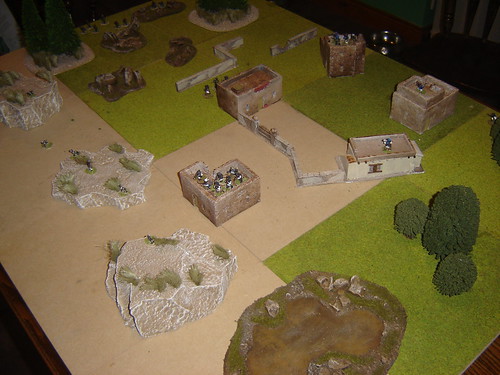
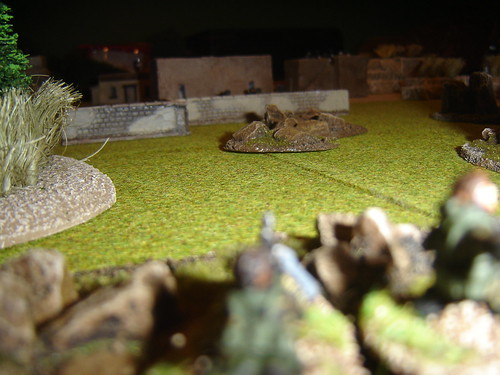
TABLE SET UP
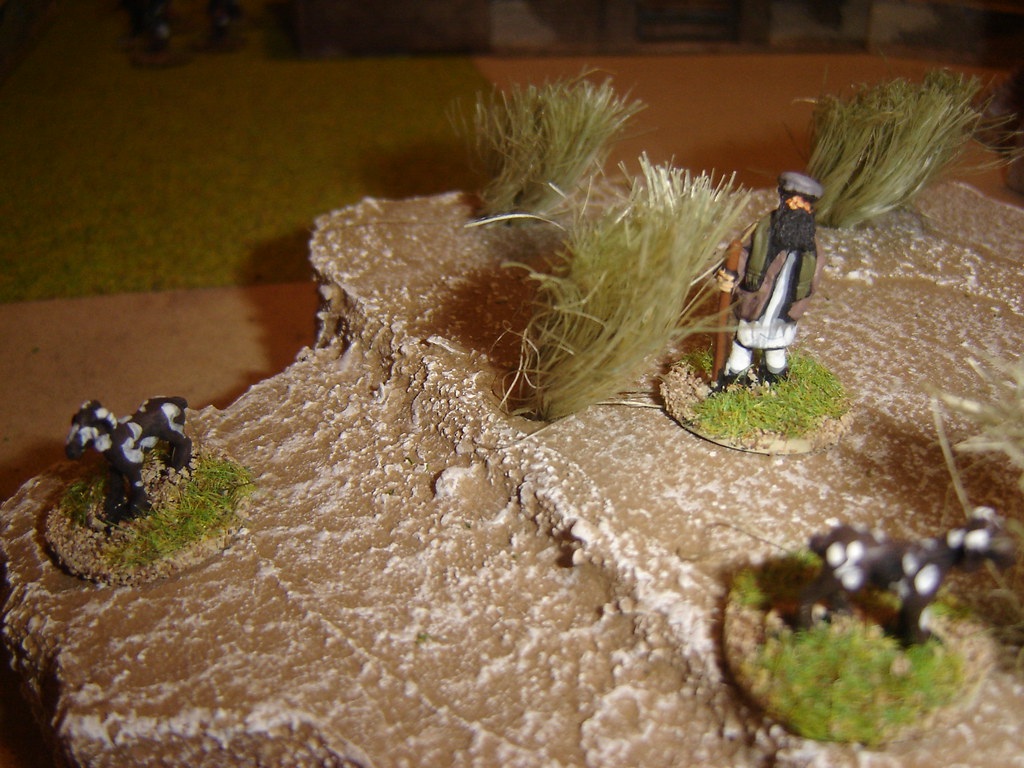
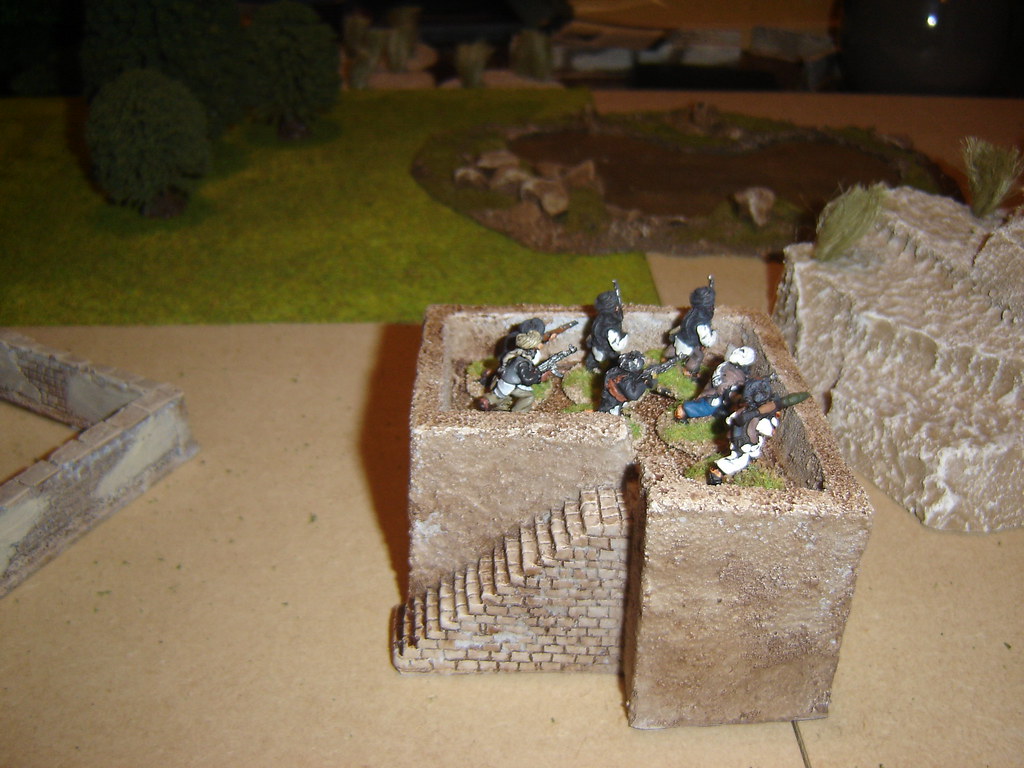
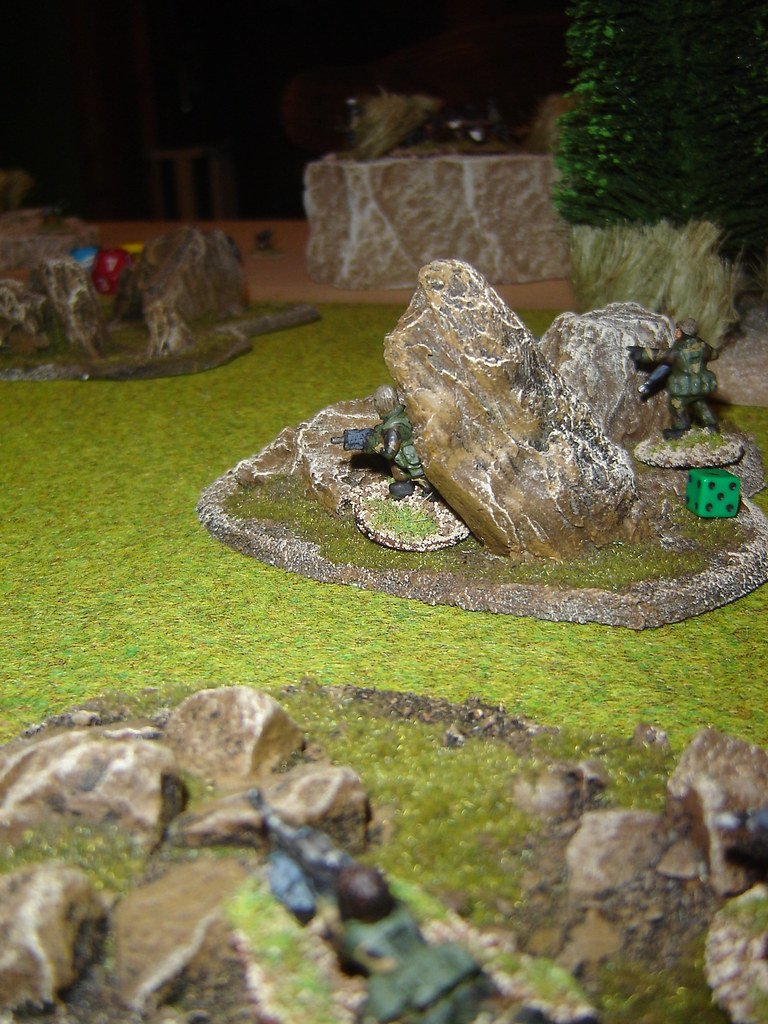
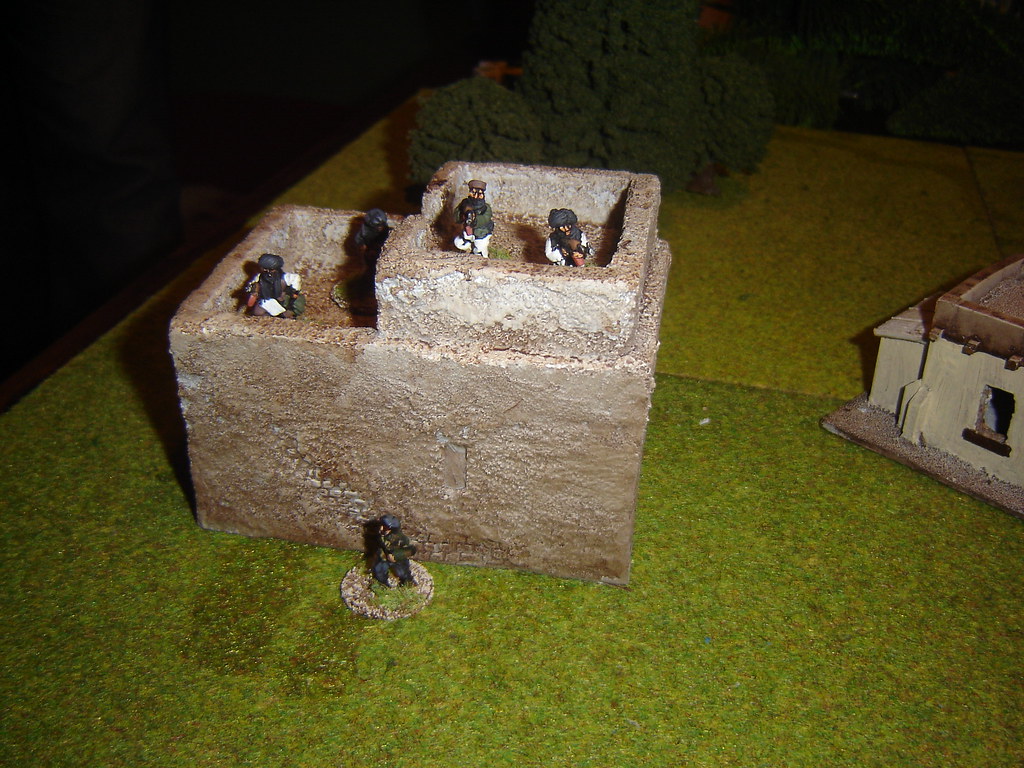
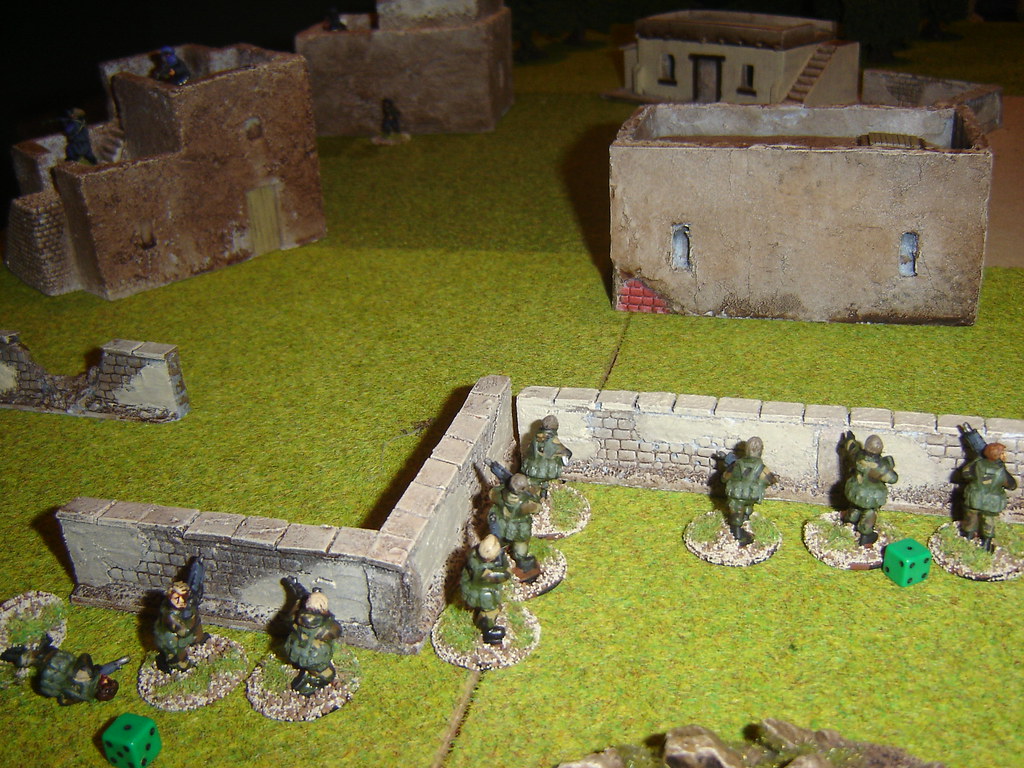
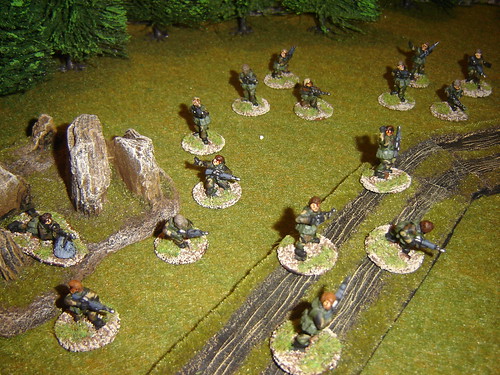
A pre-dominantly green set up, with dense groves and poppy fields surrounding an isolated farm compound. A ruined wall, a well and a small barn complete the farm with a small track leading from north to west through the clearing.

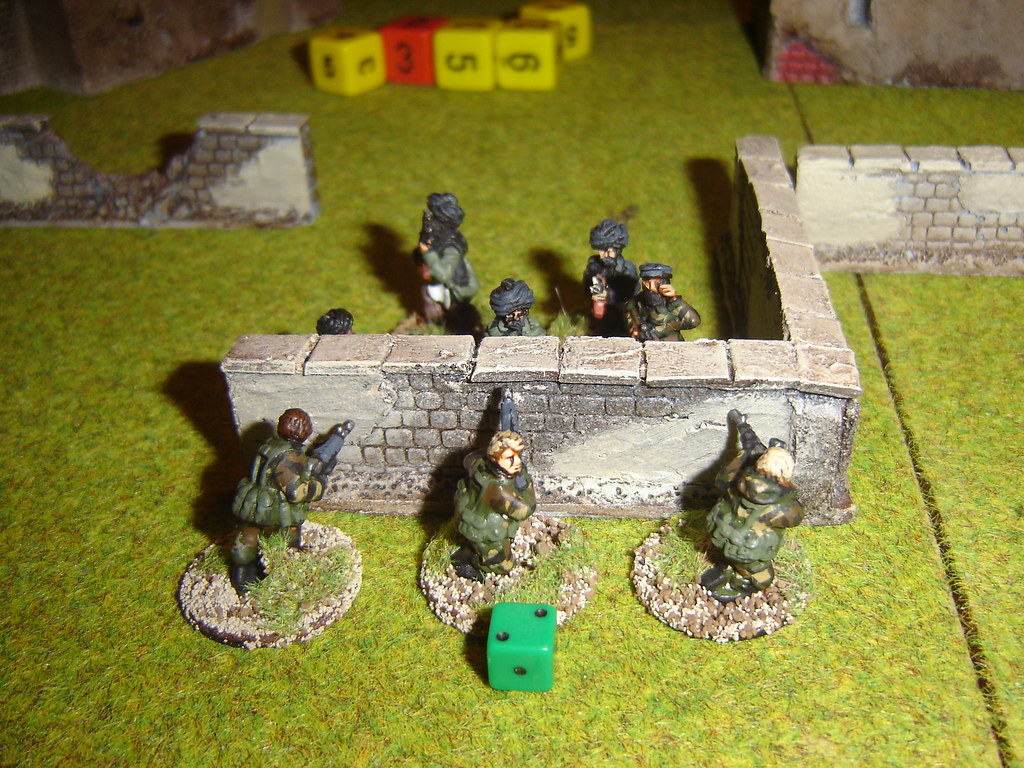
Deploy the British anywhere inside the farmhouse or barn.
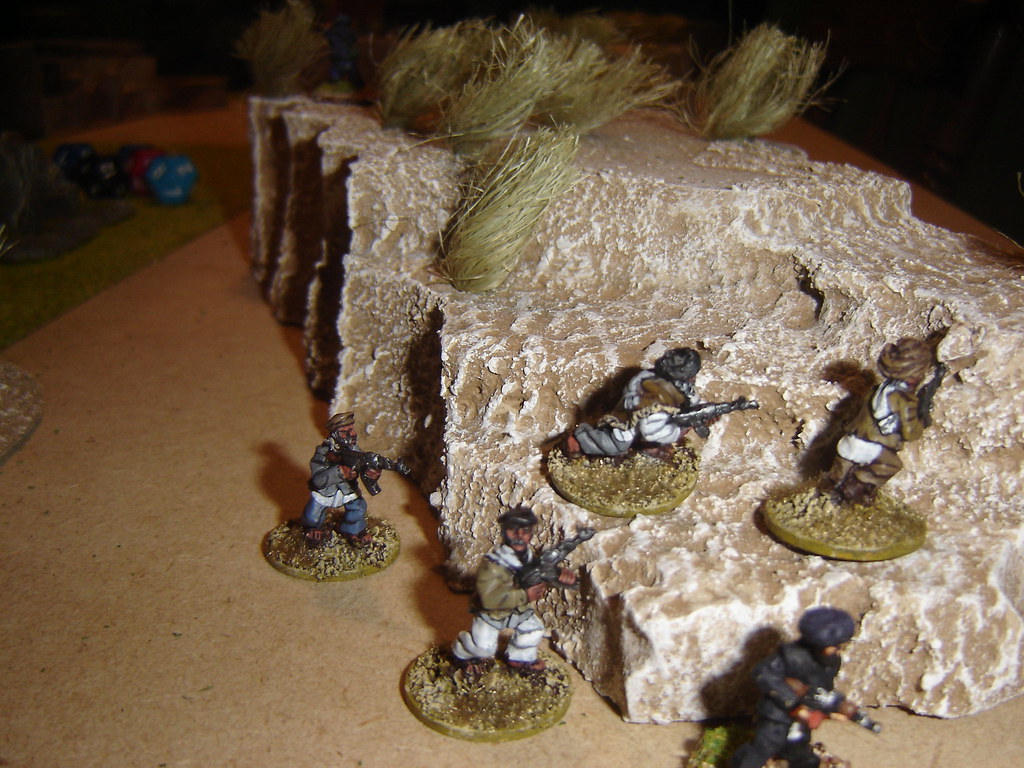
Deploy the Taliban anywhere marked A-G
BRITISH MISSION OBJECTIVE
Hold your current defensive position until Grim contacts you via radio that they are approaching the extraction zone. At that time you will break cover and head for the extraction zone as fast as possible. Do not leave anyone behind, alive or dead.
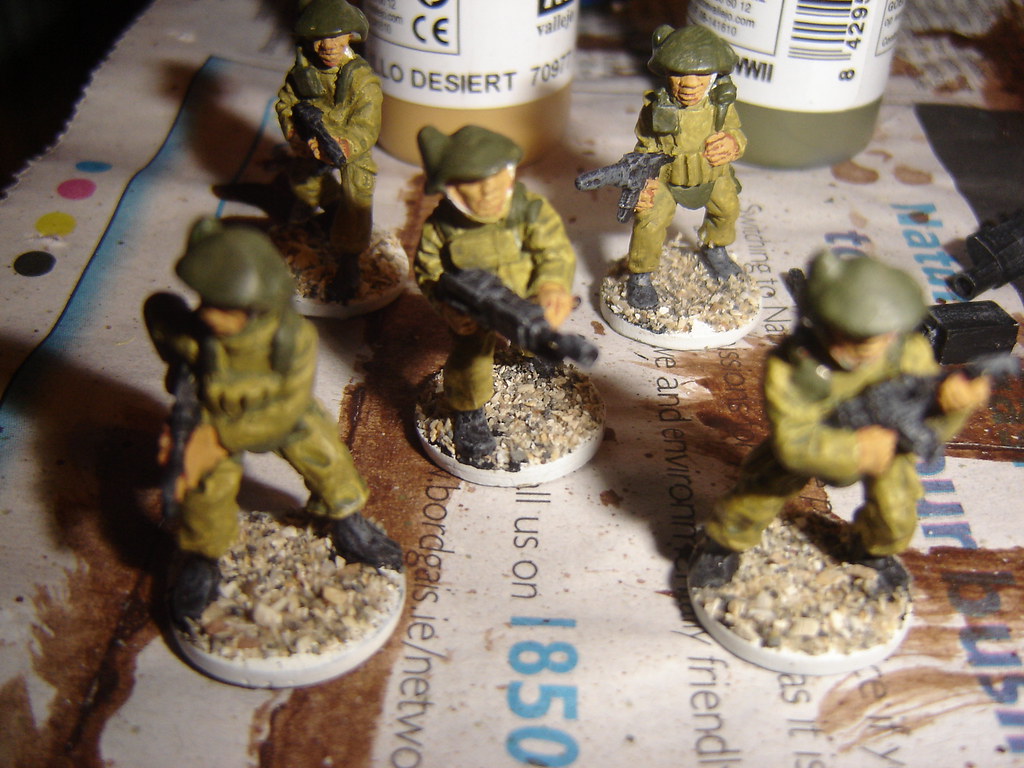
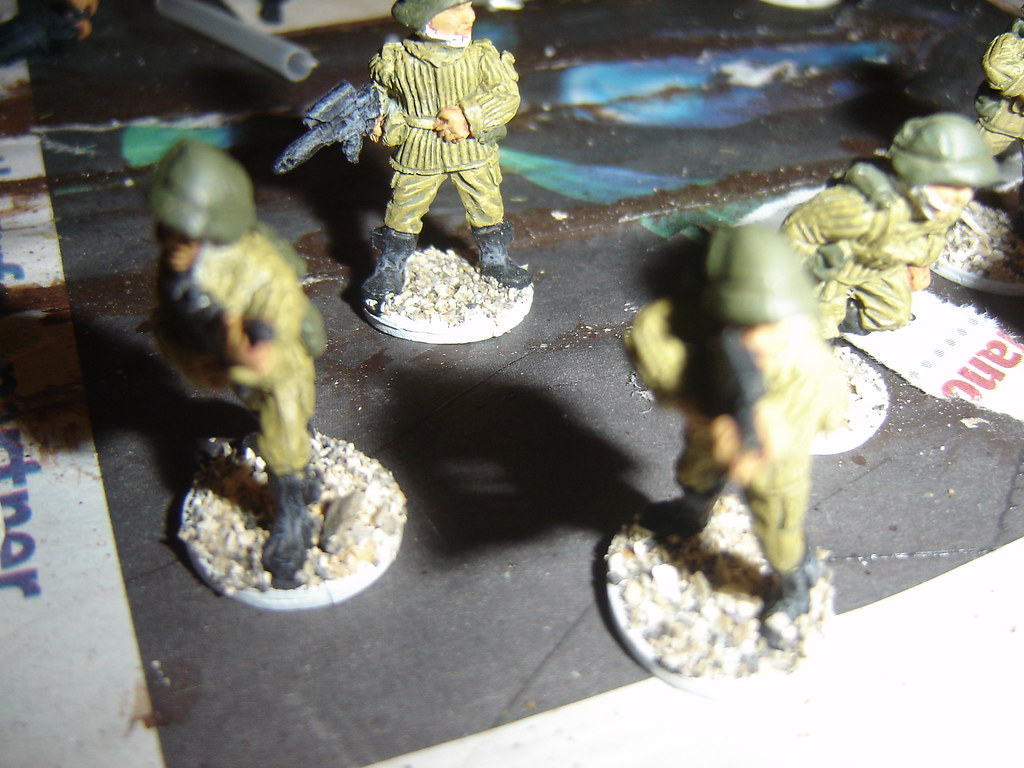
BRITISH FORCE COMPOSITION
British forces have normal supply and have high confidence (TQ D10/ Morale D10)
Command Team
1x Squad Leader w/ M4 Assault Rifle
1x M.I.6 Officer w/ M4 Assault Rifle
1x R.T.O. w/ M4 Assault Rifle
1x Medic w/ M4 Assault Rifle
Rifle Team A
1x Team Leader w/ M4 Assault Rifle
1x Grenadier w/ M203 UGL
1x Gunner w/ M249 SAW
1x Assistant Gunner w/ M4 Assault Rifle
Rifle Team B
1x Team Leader w/ M4 Assault Rifle
1x Grenadier w/ M203 UGL
1x Gunner w/ M249 SAW
1x Assistant Gunner w/ M4 Assault Rifle
Machinegun Team
1x Team Leader w/ M4 Assault Rifle
1x Gunner w/ M240 GPMG
1x Assistant Gunner w/ M4 Assault Rifle
TALIBAN MISSION OBJECTIVE
We cannot afford to have the British escaping back across the border and publicizing the covert support that Pakistan has been supplying the Taliban. Capture or kill all of the British military personnel.
Capture is preferable so that their illegal “invasion” of Pakistan, their act of war, can be proven to the world in a public trial.
TALIBAN FORCE COMPOSITION
All Taliban forces are Tier-1. They have normal supply and have high confidence (TQ D8 Morale D10)
30 rebels* consisting of:
24xAKs
4xRPKs
2xRPGs
*= To be arranged in teams of 5 or less. The rebels are well organized and do not have to worry about who the leader is as subordinates will take over as needed.
REINFORCEMENTS TABLE
Roll Reinforcement Unit
1 1d6xAKs
2 1d6xAKs, 1xRPK
3 1d6xAKs, 1xRPG
4 1d6xAKs, 1xRPK, 1xRPG
5 1d6xAKs
6 1d6xAKs, 1xRPK
7 1d6xAKs, 1xRPG
8 1d6xAKs, 1 Technical, 1 Bike
The Insurgency level is 4 for this scenario and 5 hotspots are indicated on the map.
FOG OF WAR
Fog Of War cards are not used in this scenario.
SPECIAL RULES
Grim will make contact with Dragon to head for the extraction zone turn 4.
A succesful test is required to make contact:
RTO D12
Squad Leader D10
Team Leader D8
Then roll a D6 to discover where the the extraction zone is:
1 Taliban player chooses
2 Western edge
3 Northern edge
4 Eastern edge
5 Southern edge
6 British player chooses
The Taliban player is not shown the die result, and is not aware of the direction of the extraction zone unless the result is a '1'
The ruins of the old farmhouse and barn provide excellent cover. Any unit within the walls of these structures receive a total of +3 Defense Dice.
VICTORY CONDITIONS
BRITISH
Each soldier escaping towards the LZ +3
Each dead soldier evacuated +2
Each Taliban KIA +1
TALIBAN
Each British soldier captured alive +3
Each British dead body recovered +1
Each British soldier killed +2
I'll be playing this in a couple of weekends...