24 November, 2010

Another Big Project!

As well as completing the Project Build over on The Guild for 2010 on Sunday evening, the very next day we delivered the other big project for the year!

Laura and her mother are both doing well.
So you'll understand if you don't hear an awful lot from me over the next while!

21 November, 2010

Black Mamba Down

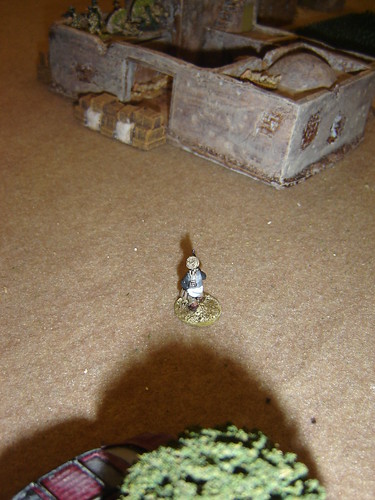
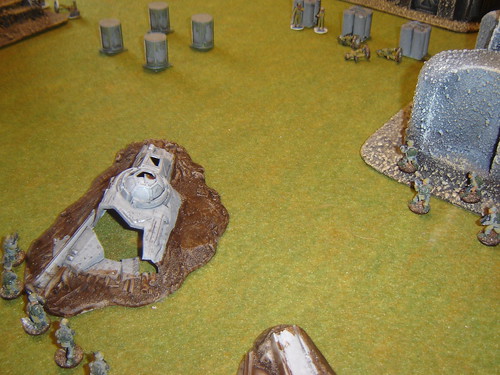
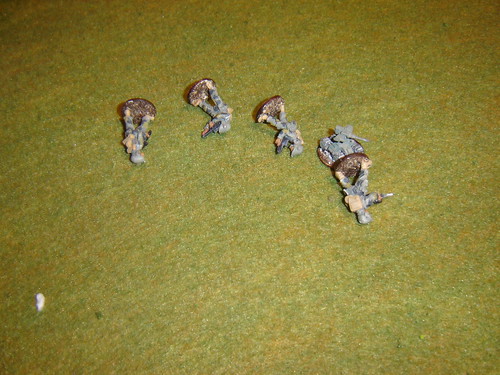
Rebel forces have shot down a Black Mamba interface shuttle. 1 crew member is seriously wounded and 1 security team member are killed.

Art by Omen2501

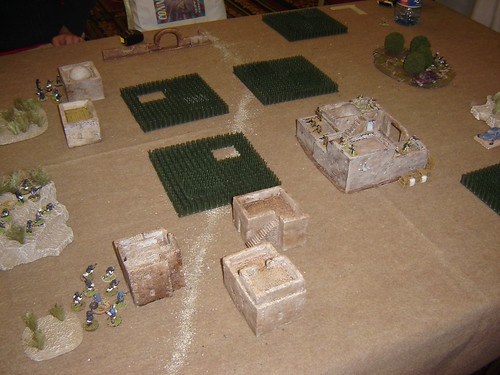
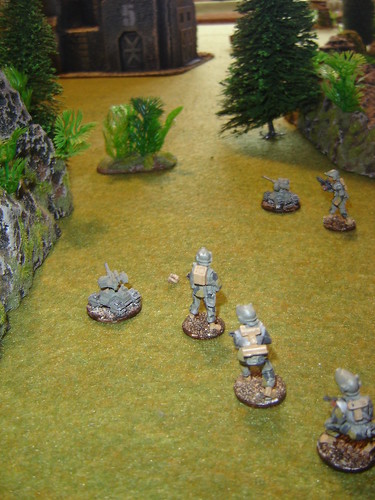
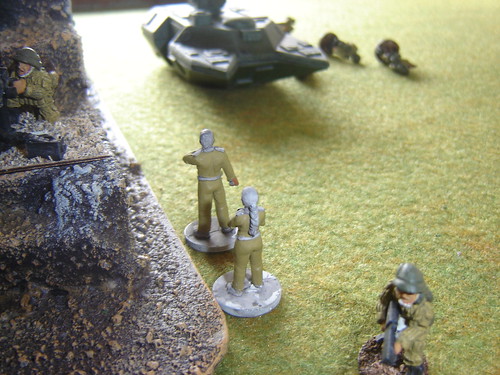
Crew assemble at the crash site, but the rebel forces are closing in.

Crash Site

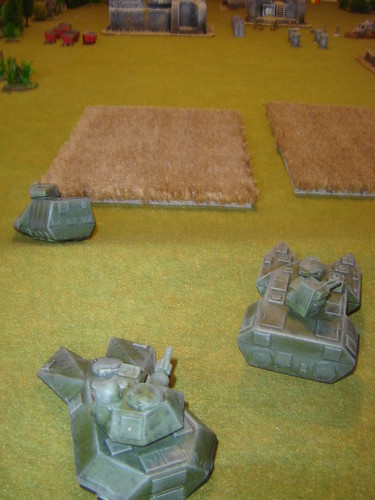
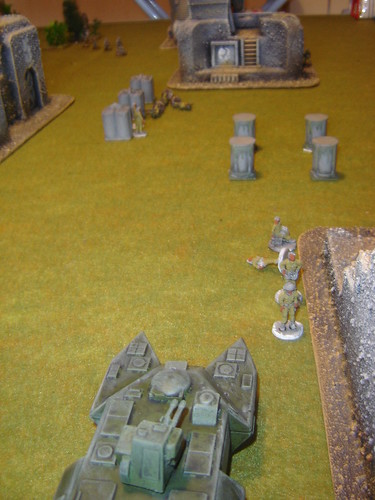
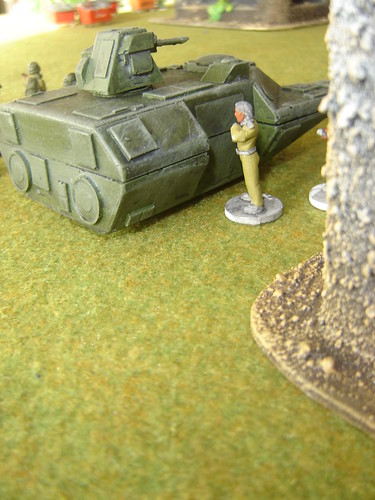
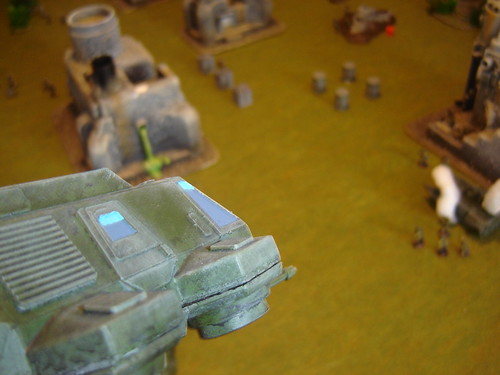
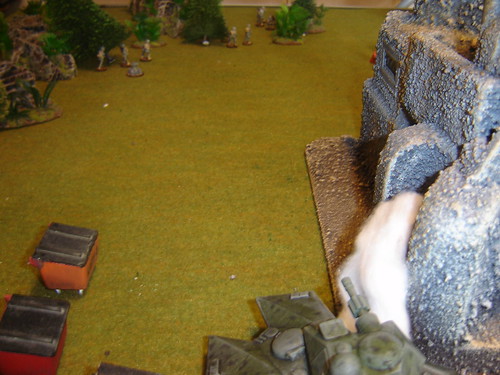
The HCPS patrol drives in over the ridge

Patrol drives in

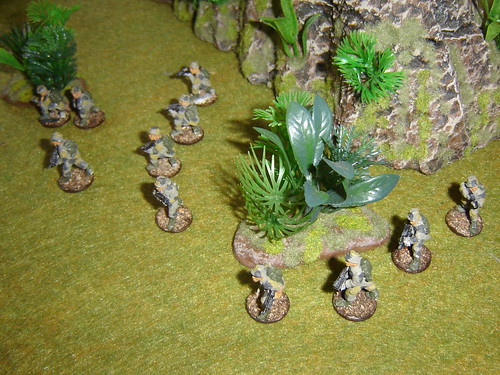
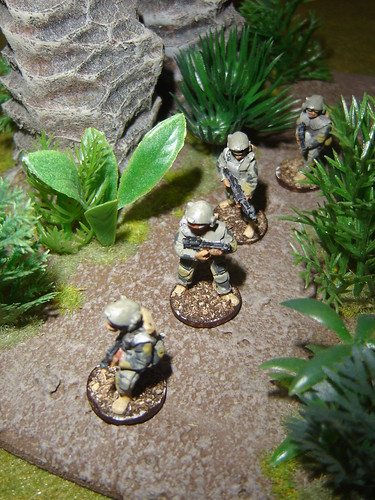
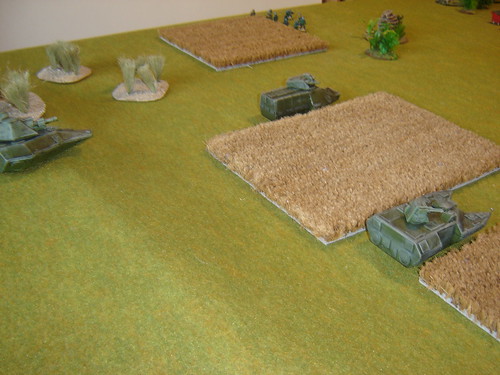
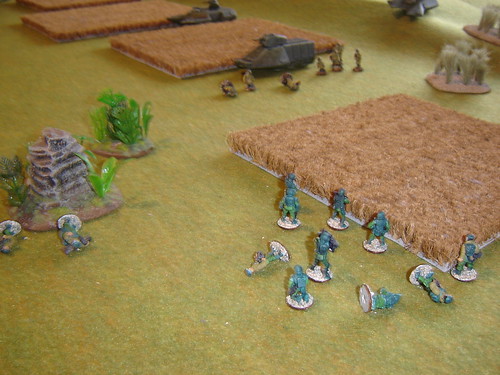
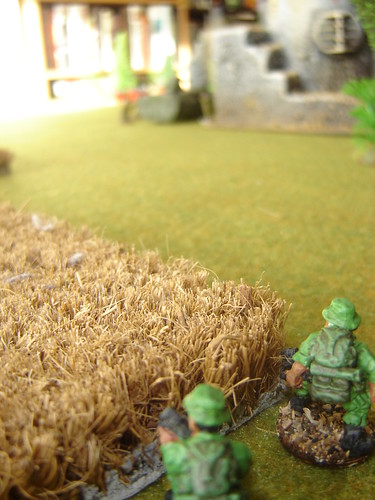
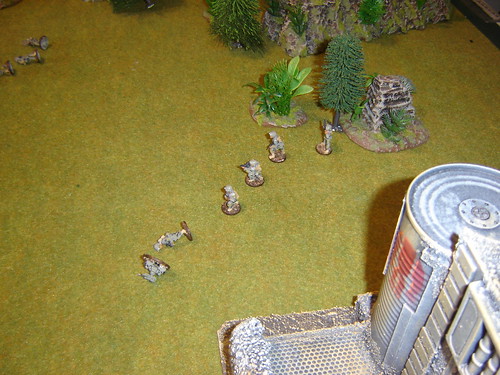
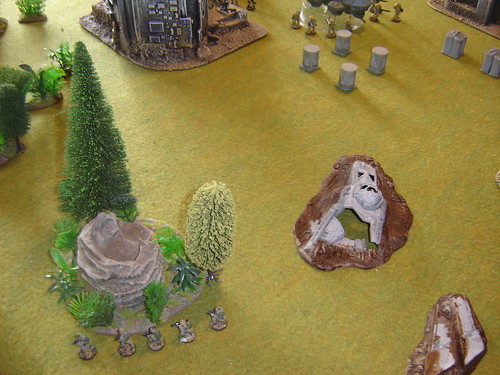
Sakhan Mercs move through forest towards the industrial complex

Sakhan Mercs move through forest

Gunbots scanning ahead - their heavy automatic weapons will add significant firepower to the mercenary fire teams

Gunbot scans ahead

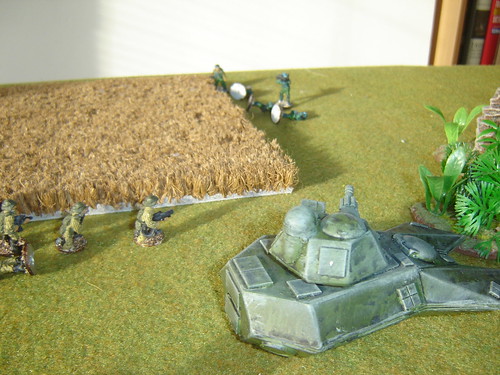
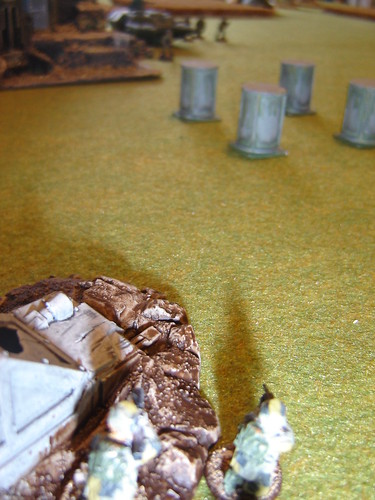
Patrol moves through the fields - turret sweeps seeming to miss the rebel squad to their left

Patrol moves through fields

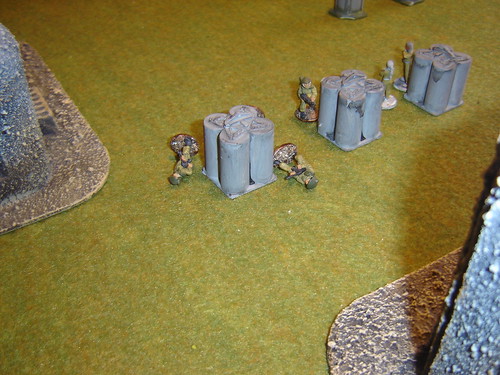
Rebel anti-armour team takes aim at the lead IFV from cover

Anti-Armour team takes aim

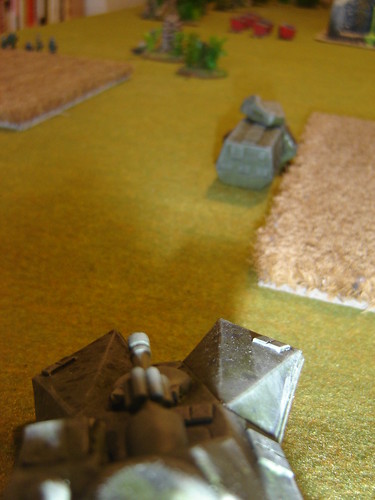
Light Tank has a commanding view from on top of ridge, and it takes out the anti-armour team with its main gun

Light Tank on top of ridge

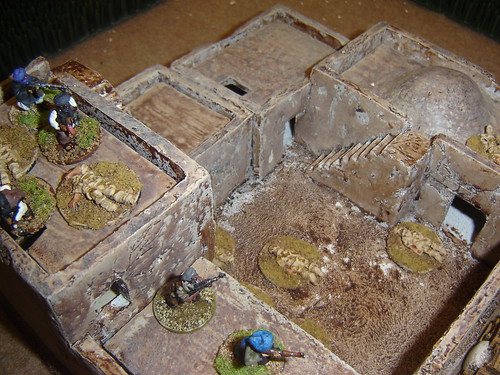
The security team at the crash site is taking hits from the advancing mercenaries

Security team taking hits

A firefight erupts as the squad dismounts, with the rebels giving as good as they get

Firefight erupts as squad dismounts

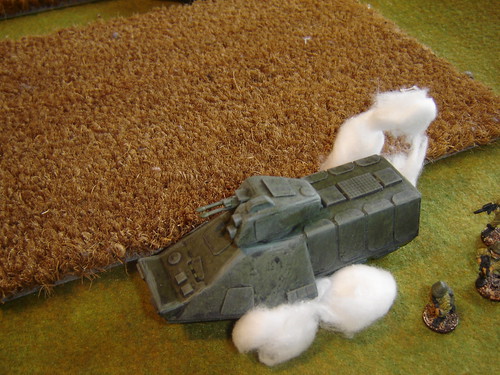
A heavy anti-matter round immobilised the IFV causing the crew to bailout (although the platoon commander sticks around and calls in the quick reaction force. With the Light Tank suppressed things do not look good for the government forces!

IFV immobilised

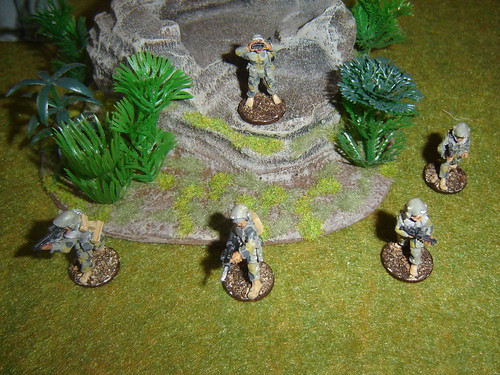
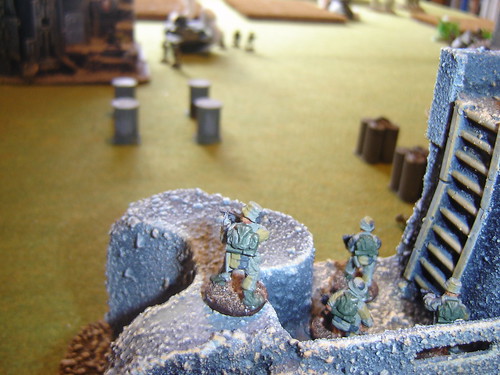
Sakhan Mercs reach crash site to outflank the security team

Sakhan Mercs reach crash site

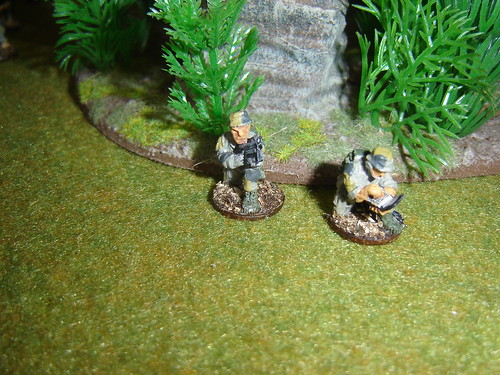
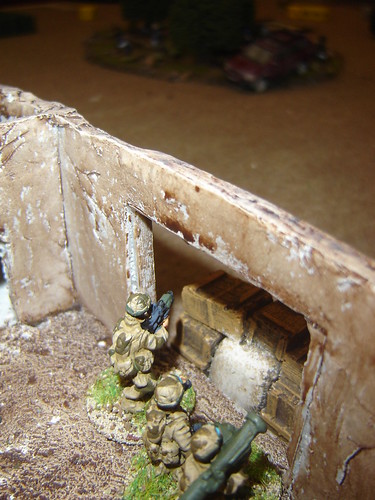
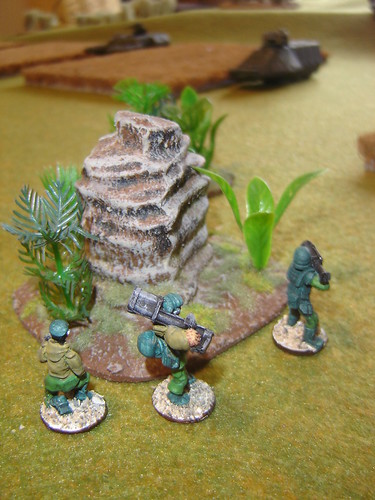
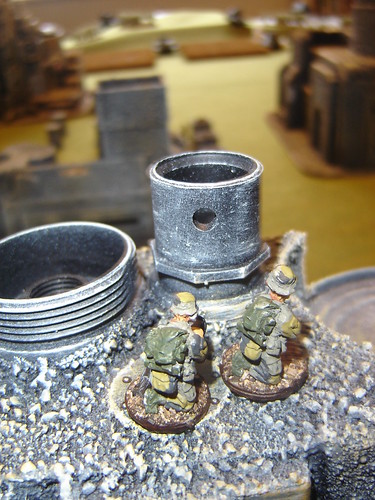
Merc sniper team sets up on rooftop

Merc sniper team sets up

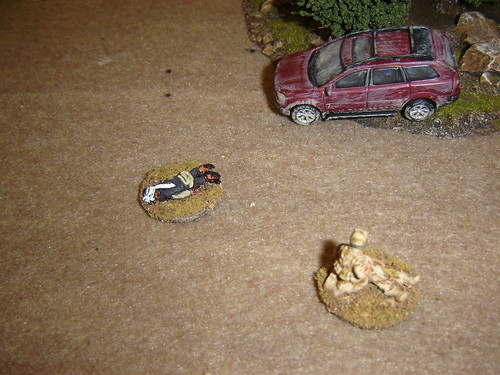
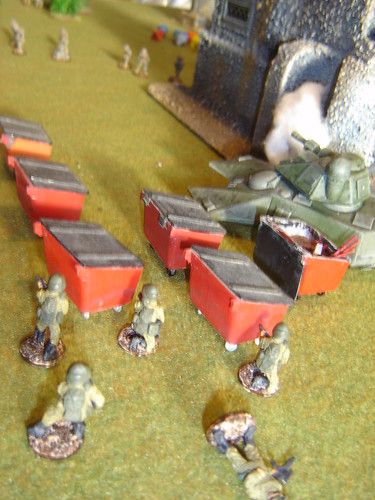
Dropship crew run for it, although two of their number are wounded on the way towards the arriving APC

Dropship crew run for it

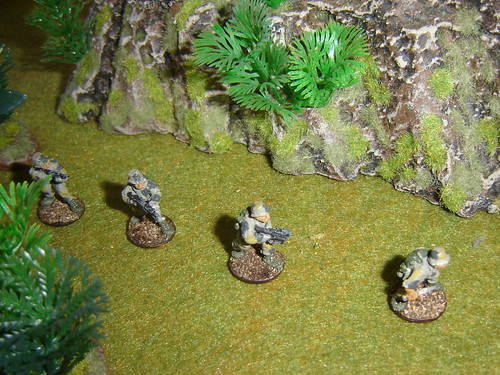
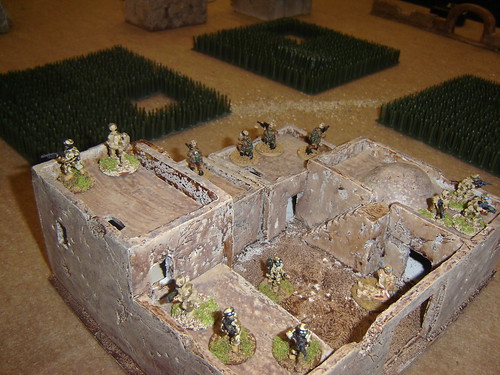
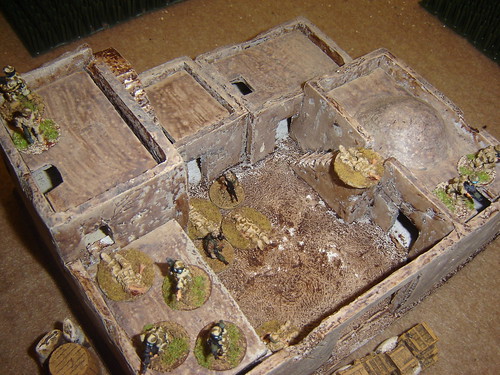
APC disgorges squad and heavy weapons team who set up to hold off Sakhan mercenaries at crash site

APC disgorges squad

Combined arms secure flank, wiping out initial ambushing rebels

Combined arms secure flank

VIPs get covering fire as they make their way to the APC

VIPs get covering fire

Something comes over the net which indicates that the HCPS will be deploying chemical weapons. The regular forces manage to deploy countermeasures without affecting their performance too badly, but the irregulars suit up and run for it

*****

Bad luck continues for the rebel forces as HCPS nano-dust attacks their drones, taking two of the gunbots out of commission.
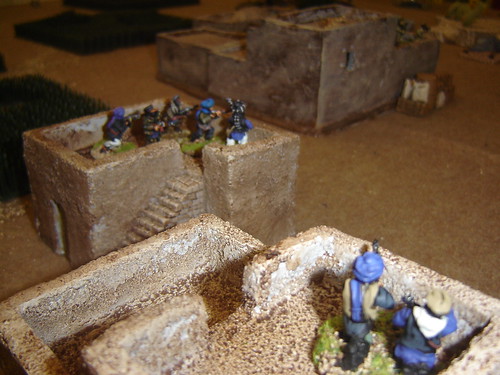
Another sniper team is in position - severely hampered by their anti-chem gear they have worked their way around the back of the government forces

Another sniper team in position

They've lined up a shot on the VIPs as they board the APC but the light tank takes them out before they can take it. It's main gun fails (equipment made by the lowest bidder!) but its twin machine guns will suffice

Snipers have lined up shot on VIPs

The armour unit continues it advance towards the Sakhan mercenaries

Tank advances

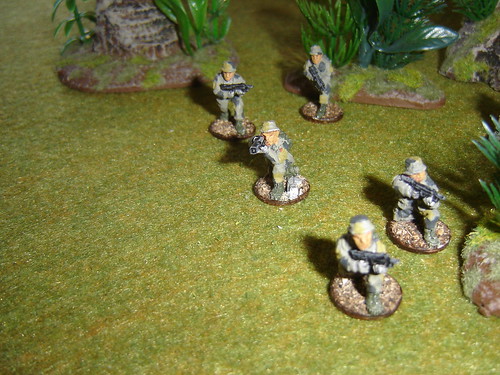
They have no chance in the open and take serious casualties

Sakhan Mercs in open

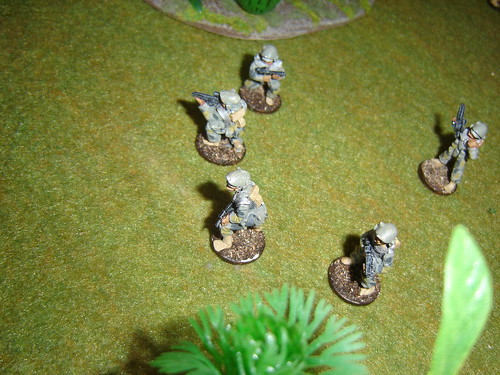
The other merc fireteam is taking hits as well as they cross open ground to reach the crash site

Mercs taking hits as they cross ground

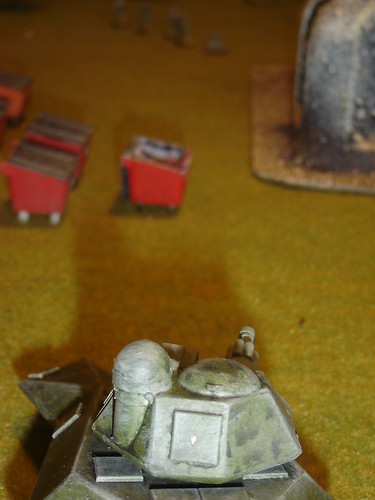
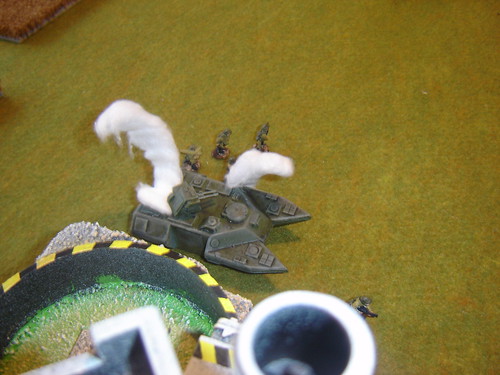
Sakhans take aim at the APC with a light anti-tank weapon (but its better than nothing, right?)

Sakhans take aim with anti-tank weapon

The vehicle explodes in spectacular fashion (a Golden BB!) with everyone on board killed

Golden BB

Fire team in office has a commanding view and puts fire in on the shocked troops alongside the wrecked APC

Fire team in office has commanding view

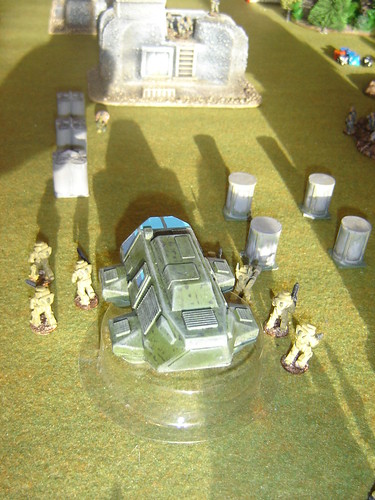
The Quick Reaction Force swoops into the complex, aiming to land directly in front of the beleaguered patrol. And close enough to deny the opportunity to capture one of the stricken security guards

Quick Reaction Force swoops in

The power armour squad leaps into action laying about them with terrible accuracy

Power Armoured squad leaps into action

Discretion the better part of valour - the light infantry escape, but their comrades in the building to their right aren't so lucky

Discretion the better part of valour

Light Tank takes plasma directly in the guts - destroying its anti-grav modules

Light Tank takes plasma directly in the guts

The Sakhan mercenaries withdraw, with the rooftop sniper team clipping the patrol's commander hampering any attempts at pursuit.

Sakhan Mercs withdraw

The two VIPs were killed along with the four crew members who survived the crash, when they were seemingly safe and about to be evacuated. The rebels bloodied the government force's nose, but in the end the loss of their irregular troops and the timely arrival of the quick reaction force proved the salvation of the government patrol.
The rebels win 11-9, which is indecisive, but no shame for the rebellion...

My first game of Tomorrow's War - impressive stuff and the changes which have been made to the system are quite effective

13 November, 2010

Sakhan Mercenaries

A small platoon of mixed Sakhan mercenaries is attached to the rebel column.

Art by WiredGear

The elusive light infantry don no advanced armour, but are highly respected nonetheless.

Sakhan Light Infantry

1st Fire Team with squad leader in position, using a disposable anti-tank weapon.

1st Fire Team - Sakhan Light Infantry

2nd Fire Team moves up

2nd Fire Team - Sakhan Light Infantry

Spotter of the sniper team using Grid-capable device

Sniper Team - Sakhan Light Infantry

Sakhan Heavy Infantry uses serious armour and firepower and is typically backed up with gunbots

Sakhan Heavy Infantry

1st Fire Team moving through some heavy terrain

1st Fire Team - Sakhan Heavy Infantry

2nd Fire Team with squad leader is exposed

2nd Fire Team - Sakhan Heavy Infantry

3rd Fire Team with plasma anti-tank weapon. Sakhan military advisor looks on.

3rd Fire Team - Sakhan Heavy Infantry

Gunbots to follow...

Hat-tip to Cyril for his quick and easy painting guide (for present-day US Army) which I've mangled!

10 November, 2010

The Defence of Wilson's Wadi - Campaign Scenarios

Here's the first of nine scenarios in the Wilson's Wadi campaign. There are campaign outcomes written into each scenario but they could easily be played as stand-alone games as well.
A link to the full pdf is at the bottom.


The Body
8 Turns
Day 1 - Morning

MISSION BRIEF
Lt. Wilson and Cpl. Harris have just been shot whilst investigating a possible enemy sighting at the Wadi. Their status is as yet undetermined and their position well away from friendly forces sparks off a struggle to recover them, alive or dead.

BRITISH MISSION OBJECTIVE
Recover the bodies of Lt. Wilson and Cpl. Harris, alive or dead.

TALIBAN MISSION OBJECTIVE
If alive, capture the enemy soldiers alive, or if dead use them as bait to lure their comrades into danger.

TABLE SET UP
A shallow creek runs through the battlefield, overlooked by high banks. Lush poppy fields along with a few small farming cottages are scattered on the south bank. A small mosque lies further away from the creek.


Deploy the British at B, placing the casualties at A
Deploy the Taliban on the Hotspots, with not more than one unit at any location

BRITISH FORCE COMPOSITION
British forces are well-supplied and have high confidence (TQ D8 / Morale D10)
1x Infantry Section of two four-man fire teams (2x SA80s, 1x Minimi, 1xSA80 wUGL)
1x GPMG Weapons Team (1xGPMG, 1xSA80)
1xMedic

TALIBAN FORCE COMPOSITION
All Taliban forces are Locals. They have normal supply and have high confidence (TQ D6 Morale D8)
1 Leader (D10 Morale)
3 Groups of 8 (1xRPG, 1 RPK. 6XAKs)
1 Sniper Team (1 Dragunov, 1 AK)
Insurgency level is 3 and a d6 roll must be made lower than 3 to bring forces on to the table. If successful, the Taliban player rolls 2d6 and consults the Reinforcement Table.

REINFORCEMENTS TABLE
Roll 2D6
2 1d6 (AKs) + 1 (RPK)
3 1d3 (AKs) + 1 (RPG)
4 1d6 (AKs) & Roll Again
5 1d3 (AKs) + 1 (RPG)
6 1d6+2 (AKs)
7 1d6 (AKs) +Leader + 1 (RPK)
8 1d6+2 (AKs)
9 1d6 (AKs) & Roll Again
10 1d6 (AKs) + 1 (RPK)
11 1d6 (AKs) +Leader + 1 (RPG)
12 2d6 (AKs)

FOG OF WAR
Fog of War cards are drawn as normal after Reaction Tests.

ASSETS
No Assets.

SPECIAL RULES
The status of both British casualties at the beginning of the game is unknown. A test may be made as soon as a unit is nearby at the end of the turn.
Roll as usual, but subtract 1 from the roll per turn played.
Lt. Wilson and Cpl. Harris do not count as casualties for Taliban victory points, only if captured.

CAMPAIGN OUTCOME
Taliban Victory - British units drop to Confident in Scenarios 2 & 3
British Victory – Reduce Taliban insurgency level by 1 in Scenarios 2 & 3

VICTORY CONDITIONS

BRITISH
Each Taliban Unit broken or destroyed +1
Wilson or Harris recovered alive +5 each
Their bodies recovered +2 each

TALIBAN
Each British soldier captured +5
Each British soldier killed +3
Each British soldier seriously wounded +1

The full campaign and all nine scenarios are here in a single pdf

05 November, 2010

The Butcher's Yard

Evening - Day 3
The Defence of Wilson's Wadi

After two days of non-stop scenarios, including full terrain changes in between each game (and of course late nights, a few beers and early mornings) I decided not to play the 8th scenario. Another more substantial relief column scenario, the result of which could affect the turn length of the final game.

From six scenarios the Taliban had won three, the British two and a single draw, with the honours shared from the more important third games of each day. I totted up the victory points from the seven scenarios to find that the raw score echoed this impression of a balanced campaign where the Taliban had a slight edge.
The tally was 70-59 to the Taliban.

*****

The final Taliban assault on British positions takes place – can the British hold out until a major force from Qandahar can drive them off?


The Taliban close in - an off-board sniper team wreaks havoc on a group, killing its leader outright

Taliban close in

Depleted Platoon has its back to the wall - and is holding all fronts against the enemy

Depleted Platoon has its back to the wall

First long-range firefight is lost by British - two are killed and two seriously wounded in the fusilade which draws fire from all over the battlefield

First long-range firefight is lost by British

Javelin team comes out of basement! Their fire helps secure one side of the compound but they are quickly low on ammunition

Javelin team comes out of basement

British concentrate efforts - this helps to limit their exposure to the 360 fire

British concentrate efforts

Taliban sniper arrives to make life hard for British - this helps keep the British pinned back and covers an advance by the Taliban up close

Taliban sniper arrives to make life hard for British

Lone Taliban fighter doesn't realise his group has been wiped out - this large group thought its time had come and rushed the compound, but they were caught in the open and punished. The last man was unimpressed and passed his morale.
At this stage though the British are sorely pressed. But they have one last hope - they finally have artillery on call and their attempts to get into a position where they can call down a fire mission on the large group just outside the compound seals their fate.
The Taliban successfully assault the compound survivng a point-blank Javelin attack!

Lone Taliban fighter doesn't realise his group has been wiped out

Medic evacuates, putting his pistol to good use to take out the lone Taliban ahead of him (beating him to the draw!) The two soldiers still on their feet follow him out attempting to call in fire on the compound as the Taliban are inside - the "danger close" request fails

Medic evavuates, putting his pistol to good use

The Taliban have taken the compound but the sound of rotors is growing in the distance

Taliban take compound

*****

So a famous victory for the Taliban, overrunning the British compound (in Turn 7) after killing four and seriously wounding eight. And a dark weekend for the British Army.

I suppose in present-day Afghanistan a British platoon taking heavy casualties (including having men taken prisoner) and under such pressure would've had the full force of ISAF including the nearby airfield at its disposal.
As the creator of the campaign I have to ask myself, was the final scenario fair? Should I have allowed the British to top up with more troops for the final battle? If so what use were the previous victories for the Taliban, and what penalty for the lack of concern for casualties by some of British players. I could have allowed it while awarding a certain number of victory points to the Taliban for that fact. In retrospect this might have been the best way to maintain scenario and campaign balance simultaneously.

*****

Thanks for reading. I'll be posting the entire campaign in a pdf when I catch my breath!
To all those who played over the entire weekend - I had a blast and I hope you did too. See you next time

More like this