30 June, 2011

200! Huzzah!

Added post #200 last weekend so I guess this is a bit of a milestone.


More than happy with the readership (that's you!) as well; with 93 Followers and 117 RSS readers too. Coincidentally those figures add up to 200 as well. I get some really positive comments from people and (while, like most, I'm blogging for myself at the end of the day) that makes it a lot easier to keep going.

 
On the horizon are more Force on Force games set in present-day Afghanistan. I'm also nearly ready to start my Austria 1809 campaign using C&C Napoleonics.

 
Upcoming conventions will be the new Conspiracy in Kilkenny in September (British in Afghanistan), Gaelcon in October (28mm Pulp Dinosaur Hunting) and while it's still a bit far way, some Vietnam war and/or Sci-Fi at Warpcon and Leprecon next year.
 
Posts coming up in the near future:
  • I'll be posting another AAR from the Attack State Red campaign, and I also want to make the entire 10-scenario campaign available to people before I get around to playing the others.
  • Just subscribed to the relaunched Wargames Soldiers & Strategy magazine, so I have some early thoughts on it (and maybe some comparisons with my current favourite Battlegames)
  • I'll also be making a slight departure from usual fare by musing on how I construct maps for scenarios.
  • And finally, given the milestone, I'll be announcing a couple of 'giveaway' competitions for followers at the weekend!
So thanks for all of you for reading, and as ever any comments on posts (new or old) are welcomed

25 June, 2011

The Longest Day

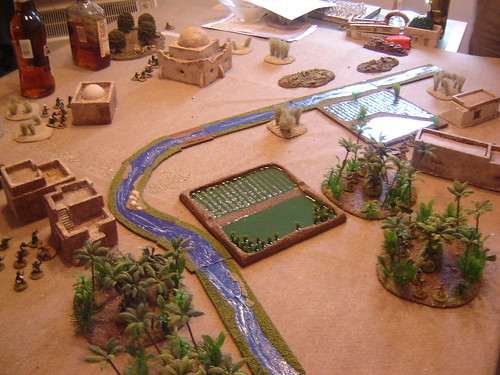
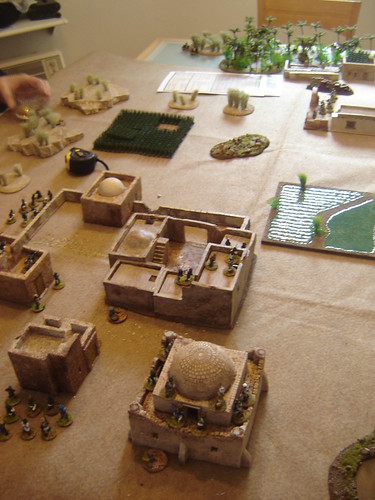
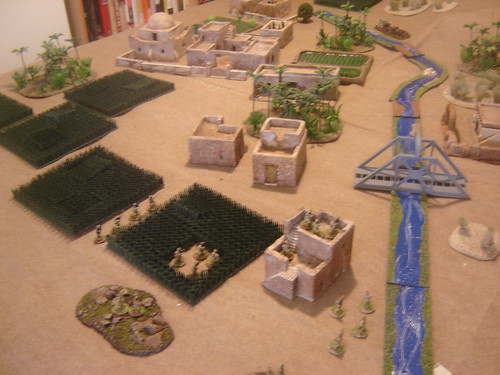
B Company enters the Green Zone in order to clear the town of Deh Adan Khan, a key Taliban stronghold for their attacks on Gereshk.


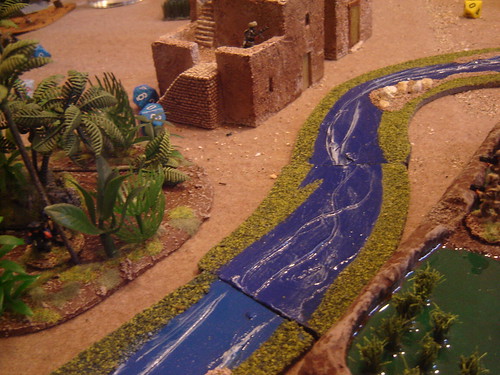
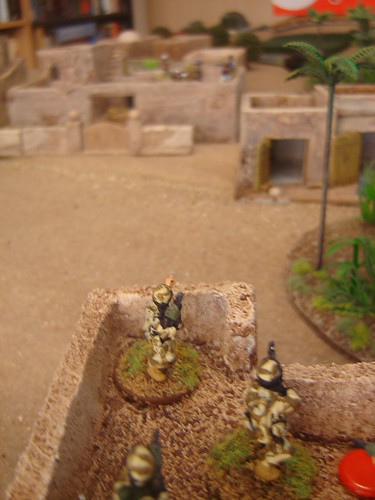
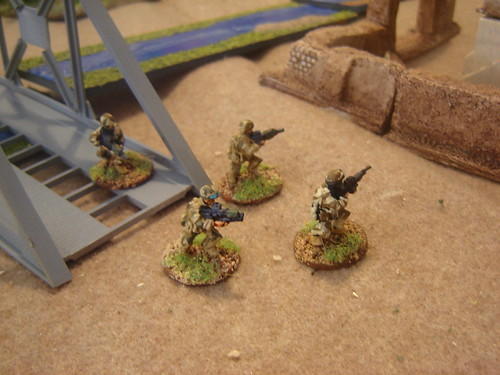
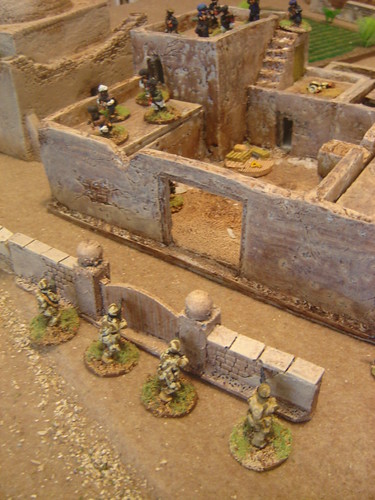
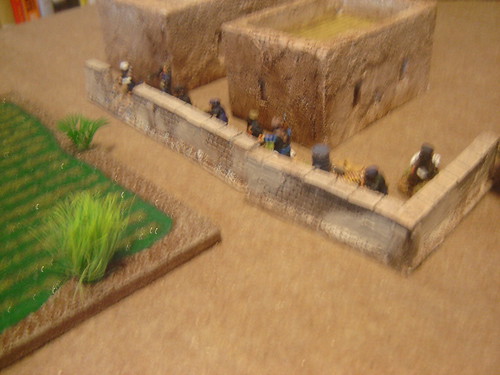
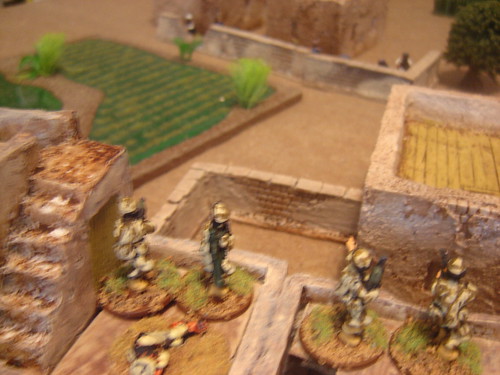
The British move into the outskirts of Deh Adan Khan

British on the outskirts of Deh Adan Khan

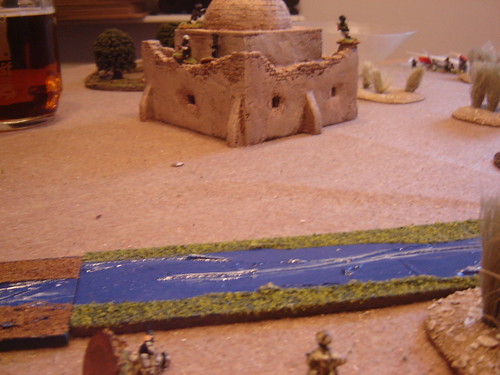
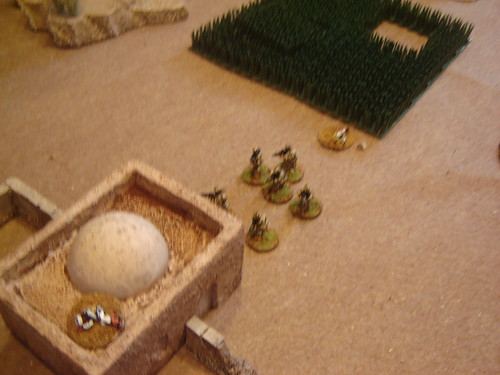
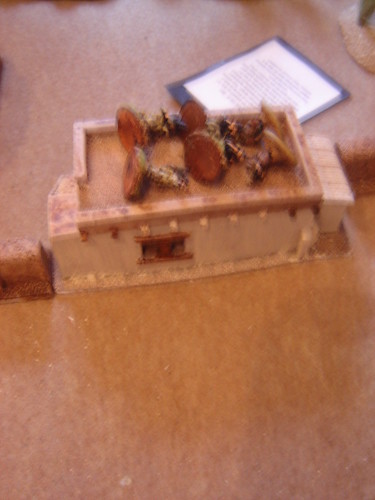
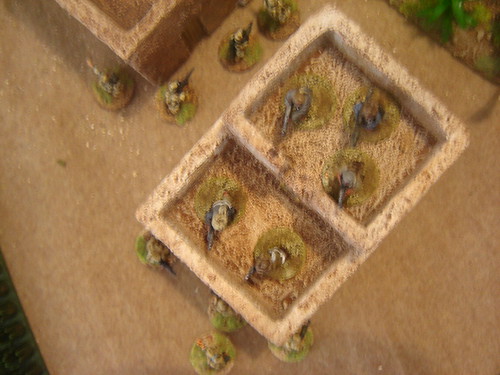
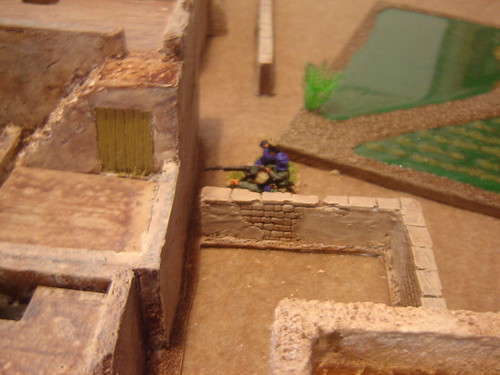
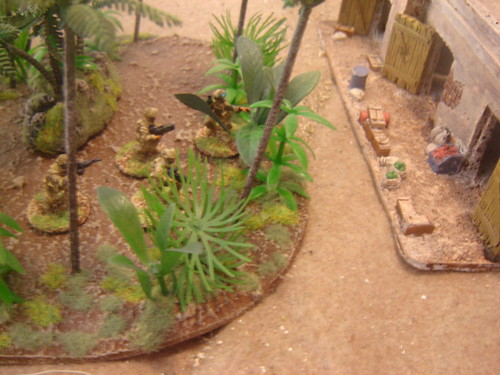
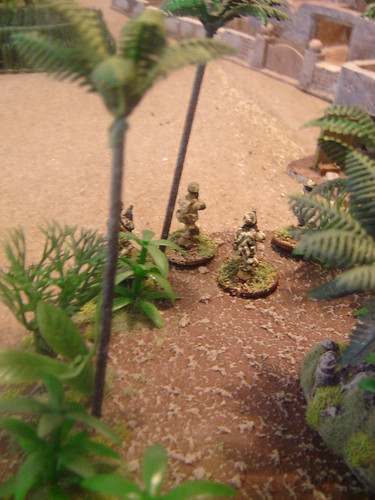
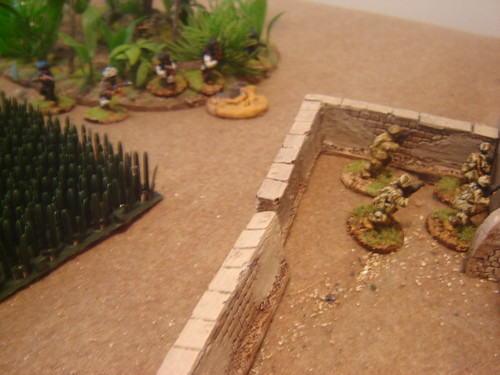
Taliban gather behind the main compound

Taliban gather outside the main compound

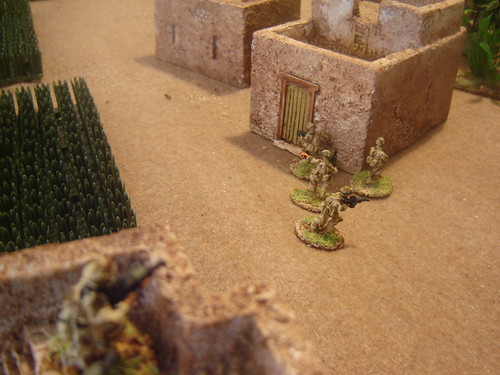
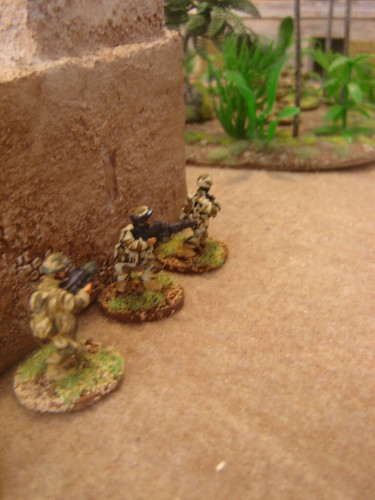
Fireteam stacks up outside Objective 6, being covered by the rest of their section

Fireteam stacks up outside Objective 6

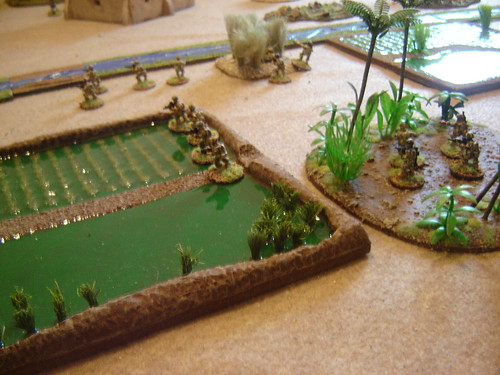
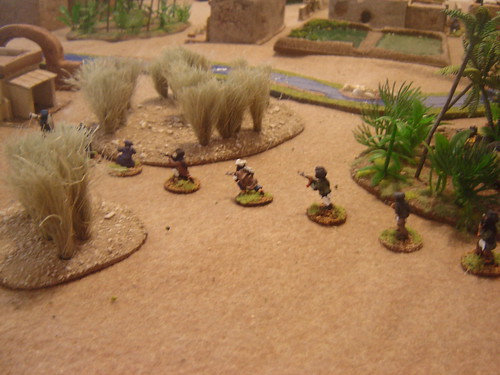
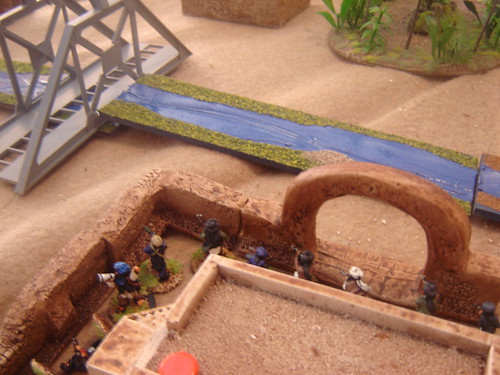
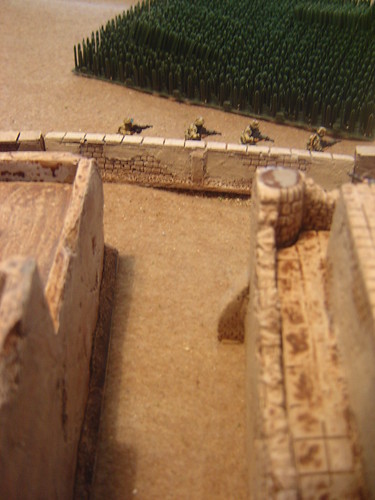
Taliban group moving to an ambush position on the other side of canal

Taliban group on other side of canal

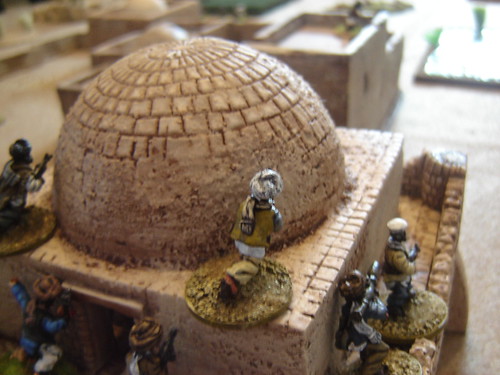
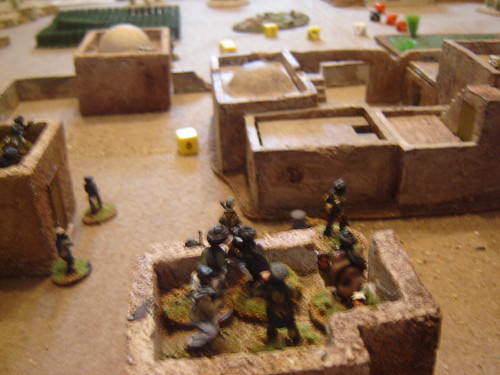
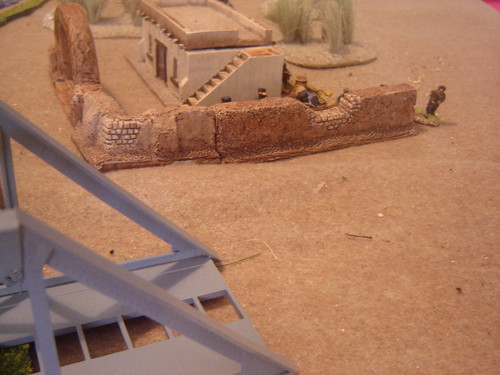
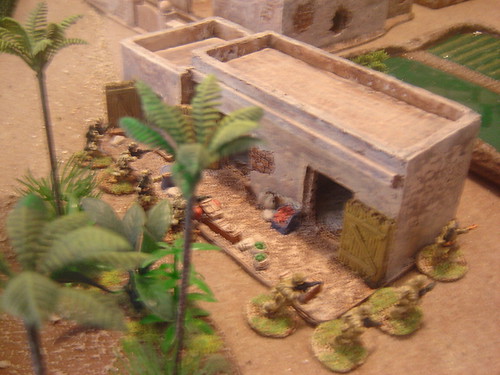
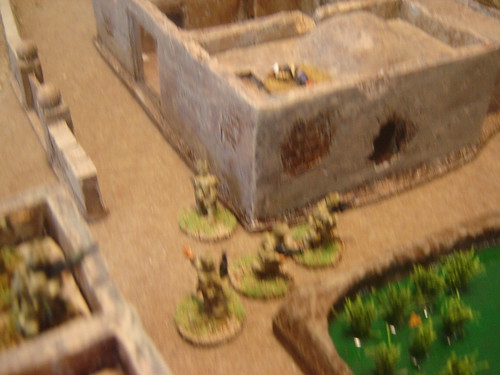
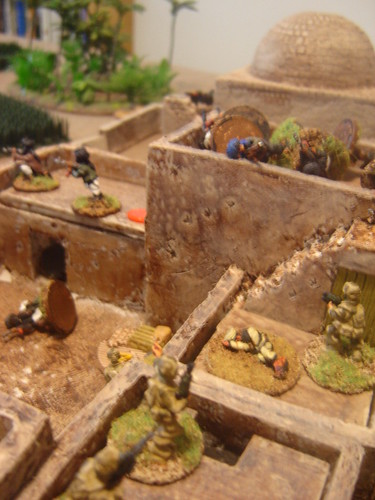
Taking up position inside the main compound

Taking up position in main compound

More Taliban reinforcements arrive at the house across the main canal bridge

Taliban reinforcements arrive across canal bridge

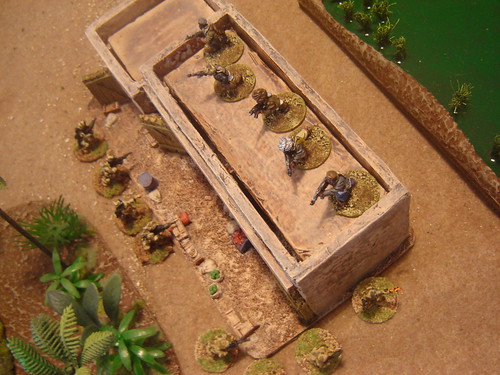
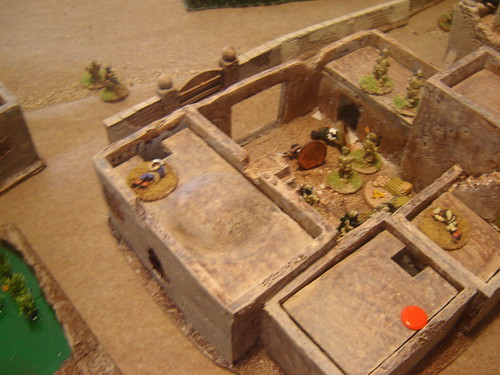
Clearing Objective 6 goes without a hitch, five local Taliban were prepared but not up to the challenge

Clearing Objective 6

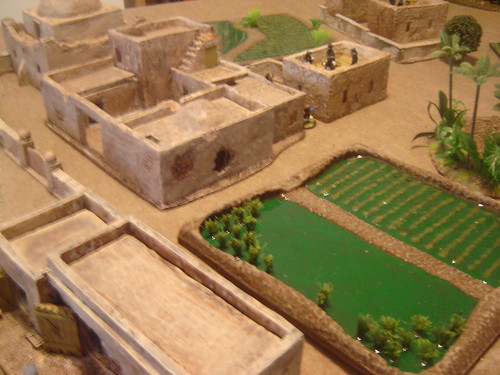
Objective 7 cleared without resistance and with a view on main compound

Objective 7 cleared and with a view on main compound

The GPMG team moves up behind the front line

GPMG team moves up

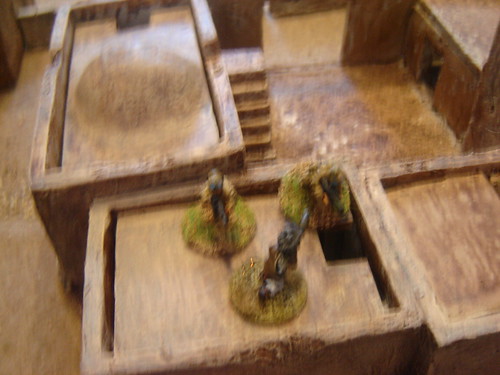
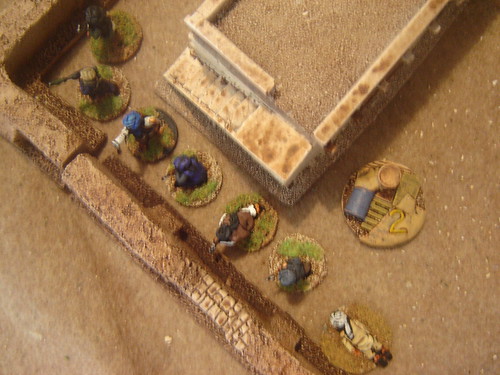
Taliban setting up defensive position to enfilade the British advance

Taliban setting up defensive position

The Taliban groups there join forces after taking a lot of fire from the British

Groups join up after taking fire

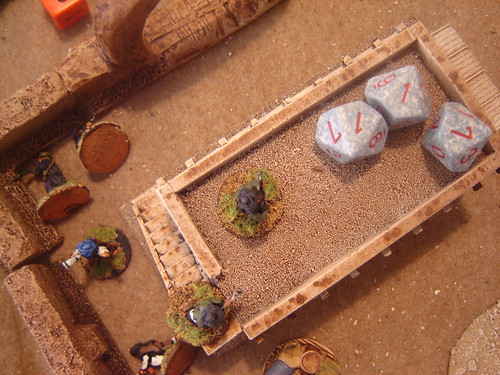
Taliban .50 cal held in reserve behind the main compound

50cal held in reserve

More reinforcements arrive...

More reinforcements arrive

But after getting a lot of attention from the British, those who aren't shot down high-tail it (despite the exhortations of their leader)

Stay and fight, damn you!

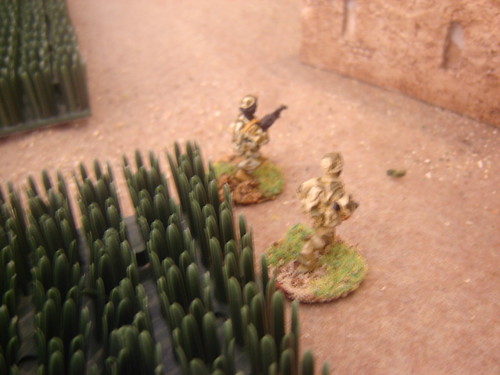
Fireteam moves along buildings towards trees, now that across the canal has been cleared

Moving along wall towards trees

That fireteam approaches Objective 8 under cover

Approaching Objective 8

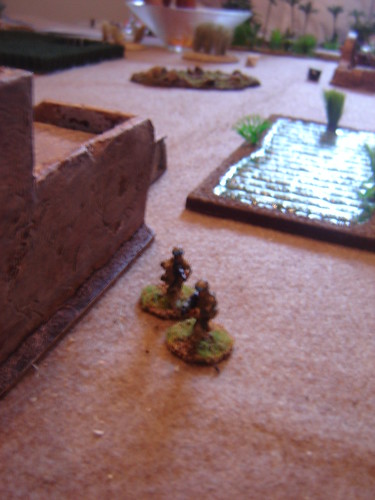
Lone fireteam crosses canal bridge, hoping to secure that area

Crossing canal bridge

Two fireteams are ready to assault Objective 8 - platoon has an inkling this one might be a live one...

Ready to assault Objective 8

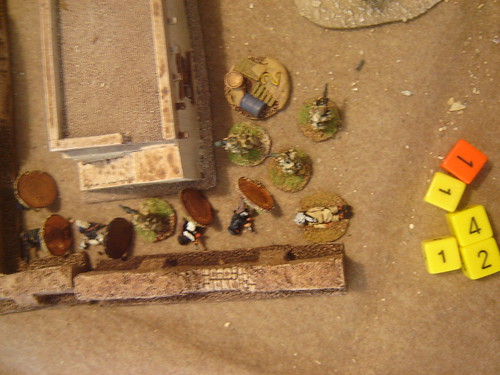
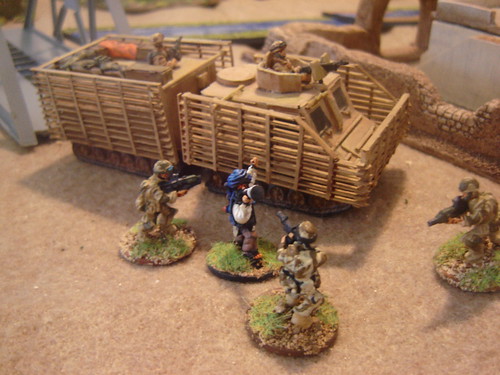
Taking prisoners across the canal - a real find with two foot soldiers and a leader taken alive

Taking prisoners

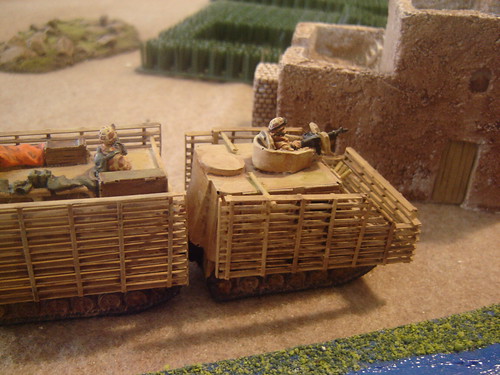
The Viking is called in to pick up the prisoners

Viking called in

Objective 8 is a real murder house - defended by some serious Tier-1 Taliban. The section clears this, but with some very close calls

Objective 8 is a real murder house

Taliban reserve sets up to defend the main compound

Defending main compound

Bundling Taliban leader into the Viking - "We'll talk to you later"

Bundling Taliban leader into Viking

Moving through trees to get a shot on the compound - the British have started to converge on Objective 9

Moving through trees to get shot on compound

Approaching Objective 9 under fire - this fireteam will be the lead element in the storming on the compound

Approaching Objective 9 under fire

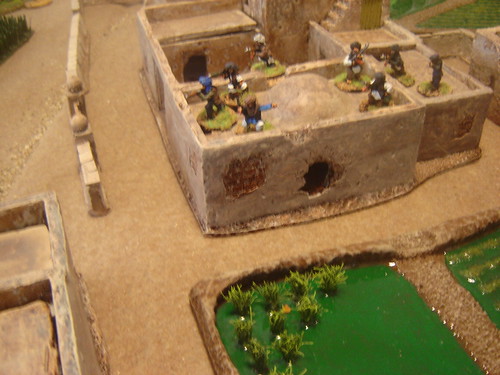
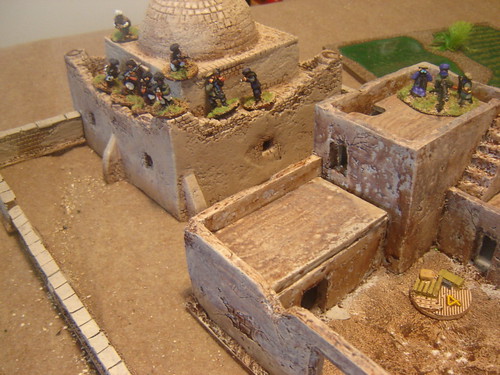
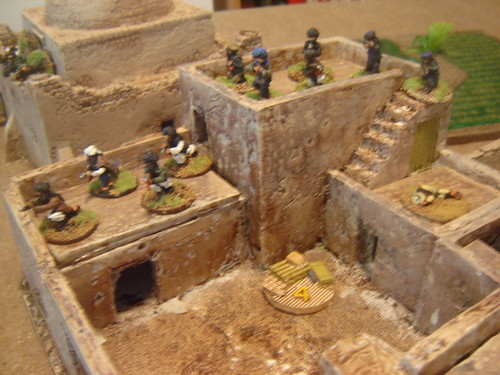
Objective 9 must have ratruns connecting it to rest of Deh Adan Khan - a horde of Taliban appear on the rooftop

Objective 9 must have ratruns connecting it to rest of Deh Adan Khan

Race to the compound wall to get into cover - the Taliban are now amped up and loaded for Bear!

Race to the compound wall to get into cover

The last redoubt of the Taliban at Objective 11 fills up - they are also covering the rooftops of the main compound

The last redoubt of the Taliban at Objective 11

Moving past gap between buildings - narrowly avoiding getting shot up from across the way

Moving past gap between buildings

Assaulting remnants of group inside Objective 9 - only two Taliban remain inside after the hail of fire poured into the building

Assaulting remnants of group inside Objective 9

The fireteam clears Objective 9 without a hitch

Clears Objective 9

Fireteam readying for assault on Objective 10 is outflanked by new arrivals (or just well-camoflaged?) Taliban in the trees

Fireteam readying for assault on Objective 10 is outflanked

Fireteam putting fire downrange - they are beaten to the punch and two of their number get shot (both KIAs)

Fireteam putting fire downrange

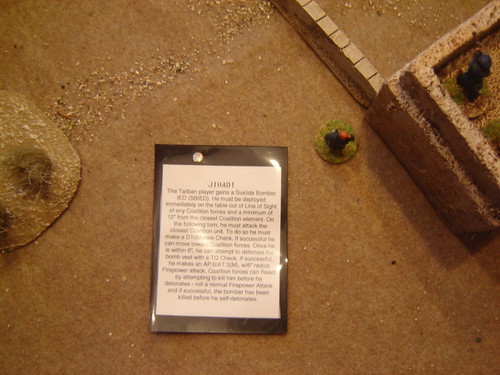
Fireteam trips IED inside Objective 10 - they barely make it out alive, one serious casualty. They said the leader who they were going to tattempt to capture was primed with explosives...

Fireteam trips IED inside Objective 10

The British win this one 14-9, albeit all those British casualties were in the final turn (possibly due to over-stretching and a mix of good timing and lucky reinforcements for the Taliban)

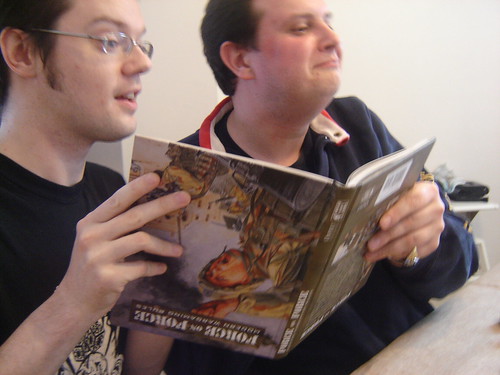
I was at a bit of a loss of how to represent the high tension-variable intensity fighting involved in this kind of clearing action. Thankfully the guys over at Ambush Alley are coming up with some new building clearance rules for the Fallujah book being released next year. They work really well, and looking forward to doing a bit more testing on them soon.

23 June, 2011

A Bridge Too Far

B Company has cleared the village of Heyderabad, but it’s not stopping there. 7 Platoon will secure the canal bridge and the two buildings overlooking the crossing.


The Taliban defend the canal crossing, deploying behind the buildings for maximum impact

Taliban defend canal crossing

The British advance towards the canal, and across the paddy fields. One fireteam rushes forward and is left in no man's land

British advance

Having taken a torrent of fire, with three men going down immediately

Lone survivor

The lone remaining member up and running survives another fusilade without a scratch, returning the shots with interest, putting down two Taliban in the tomb - all three casualties are fine, one has a light wound!

Taking fire from the tomb

Taking 107mm rocket barrages the other fireteam works its way across the paddy field and flushes the spotter team out

Flushing the spotter out

The third scenario I ran on Saturday turned from 'A Bridge Too Far' to 'Berlin by Lunchtime' as the sequence of rolls went entirely the British's way. From that first casualty check and the overwhelming fire on that lone survivor which resulted in nothing. With no reinforcements turning up at all for the Taliban this was over in record time.
That said, I've made some tweaks to the scenario, hopefully it'll work out a bit more challenging for you.

The Players

A damned enjoyable day was had by all I think - five players, three scenarios; not to mention the finest Knob Creek whiskey this side of the Tennessee and some delicious Innis & Gunn beer...

21 June, 2011

The Raid

The Taliban consider Mazdurak a safe haven. No coalition forces have set foot inside, and C Company is going in to stir up the hornets’ nest in order to discover the Taliban’s real strength.


As dawn breaks, the platoon has assembled for the raid into the village and is ready to go.

Sleepy Mazdurak - it's not often the Taliban are caught unawares!

Sleepy Mazdurak

The Taliban rouse themselves, one group scampering to the rooftop of this large building

Taliban rouse themselves

First section takes fire crossing paddy field. As well as taking fire from the town a couple of PKM-armed Taliban pop up right in front of them

First section takes fire crossing paddy field

The Taliban commanders show their contempt for the rules of warfare

Taliban commanders

Second section advances using the cover of one of the outlying houses - but trouble brews over the British radio as they hear that Colour Sergeant Siskey has been seriously wounded and the platoon becomes despondent.

Second section advances using cover

Taliban reinforcements arrives from Khvolehabad across the wadi

Taliban reinforcements from across the wadi

A covert lone Taliban approaches with potted IED

Potted IED

The Taliban prepare to repulse the British assault on the village

Taliban prepare to repulse assault

Two of the remaining upright members of first section charge across the open ground towards the large compound, leaving their mates safely behind the berm at the paddy field

Crazy advance

A torrent of fire has immediate effect on the British unit providing a base of fire for the raid - all four members of this fireteam and a sniper go down

Torrent of fire has immediate effect

A long and drawn out two-man assault clears out the compound

Assault clears out compound

Having taken some serious losses, the British are defeated by a close score of 14-12, despite discovering the strenght of the Taliban and establishing a foothold in Mazdurak.

Lesson for the Day: Overwatch is useful and a two-pronged attack has got to be mutually supporting from the off

More like this