29 June, 2012

The Battle of La Cambe

Getting back to my routine after being on holidays. Right before that I made a long-overdue return to the GMG down in Kildare for a cracking Seven Years War game of Black Powder.


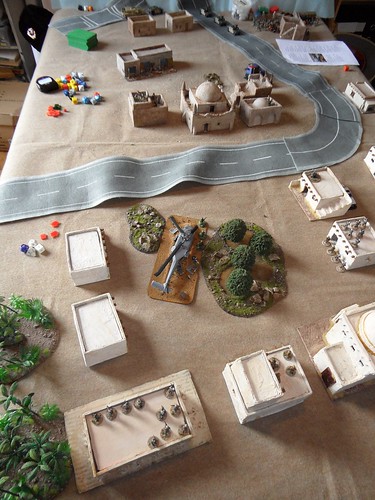
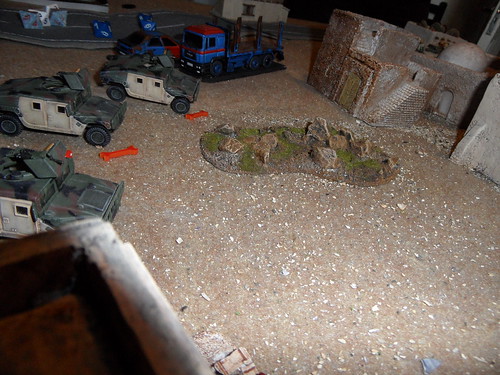
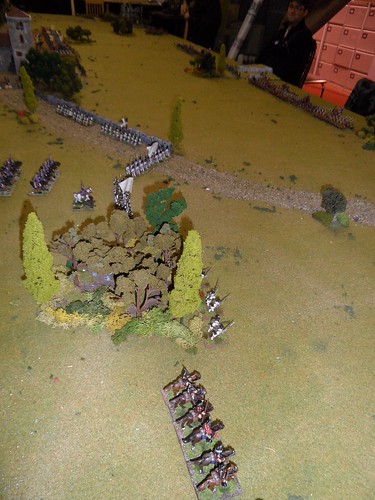
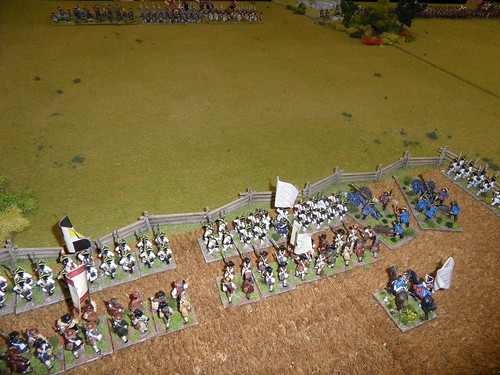
Confronting a British-led incursion into the French marches, the Duc de Pompidour denied supplies to the invaders and harasses their advance before settling on a defensive position at the small town of La cambe. His right flank is light, especially when looking at the massed British brigades opposite

French Right Flank

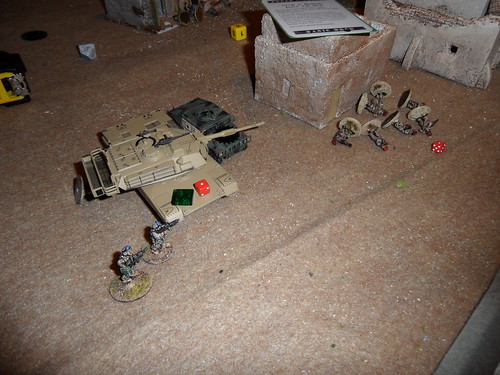
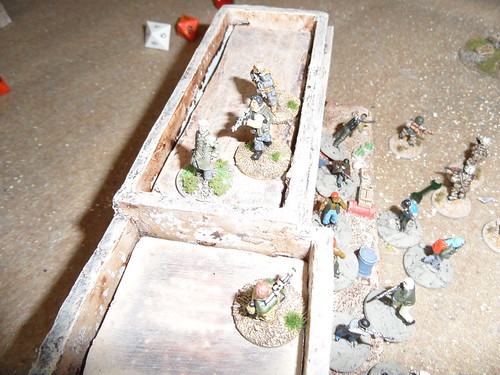
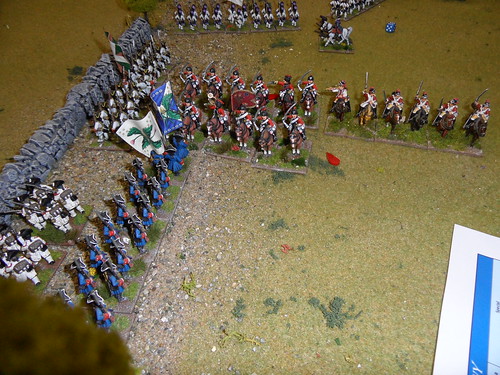
The French centre has three guns and two lines of infantry

French Centre

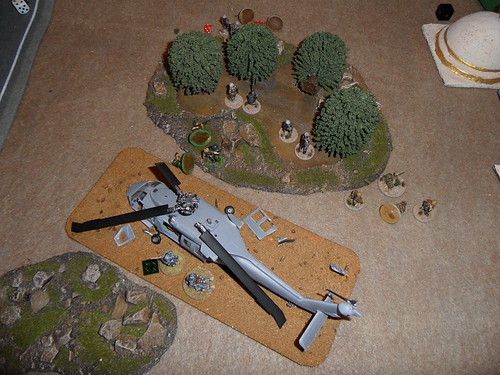
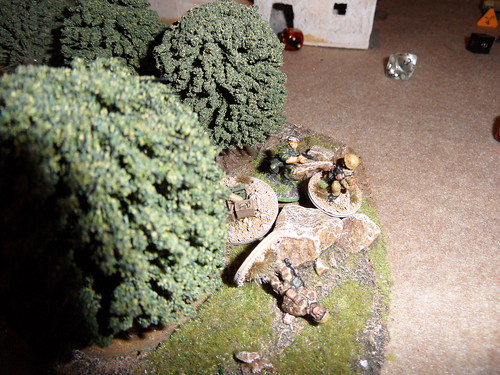
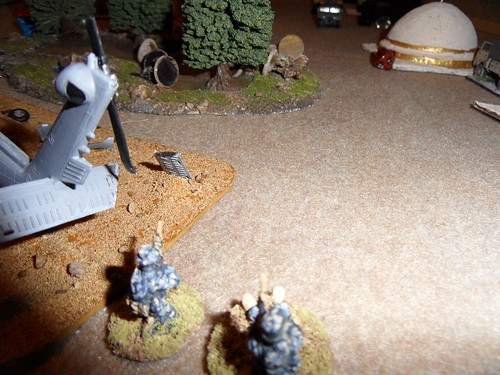
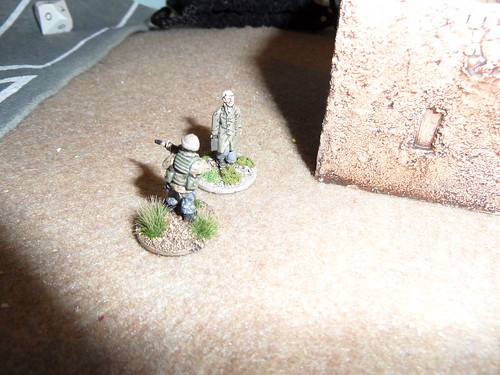
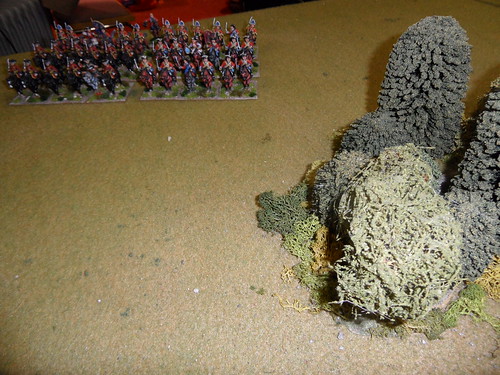
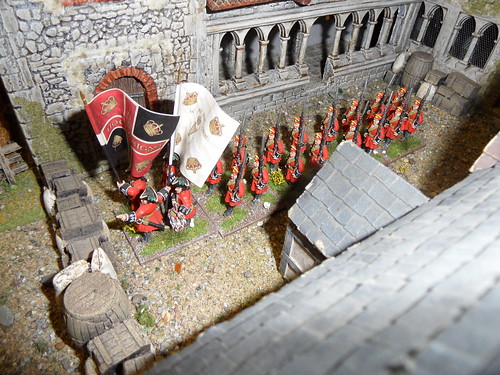
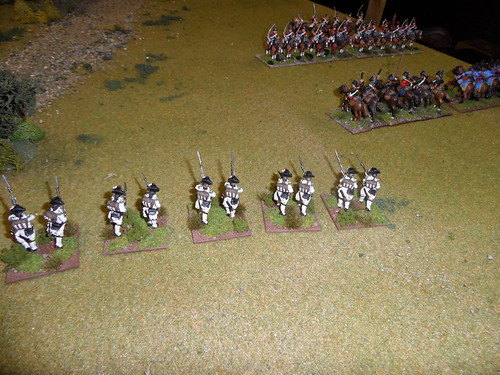
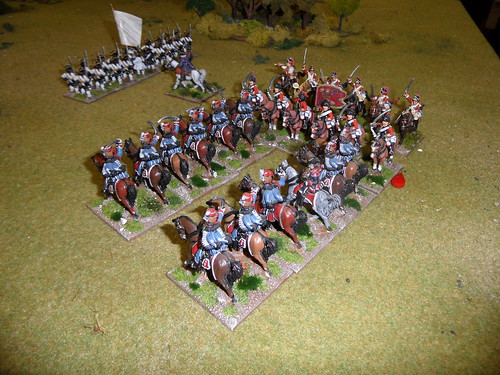
Out on the French left are these Grenadiers. They're a long way from support, but further to their left are the French heavy cavalry squadrons.

French Grenadiers on the left

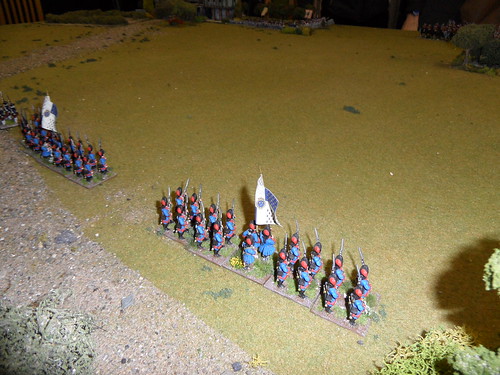
Opposite the Grenadiers and headed at those French cavalry are the massed British cavalry

British Cavalry Brigade

The French centre may look strong, but the second line is composed of local militia.

Militia in the Cornfield

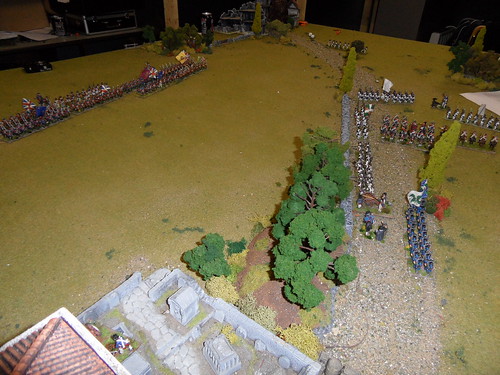
De Pompidour himself commands the guns to the right in the cornfields. Beyond him is a screening light infantry unit skirmishing in front of the church

French General oversees the guns

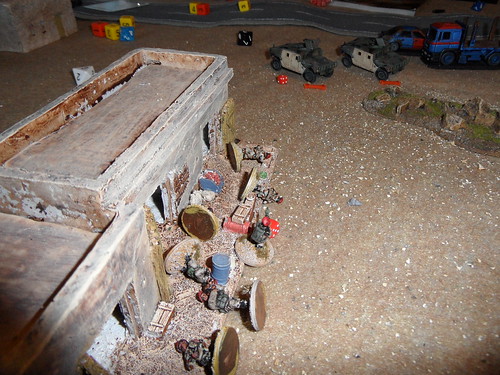
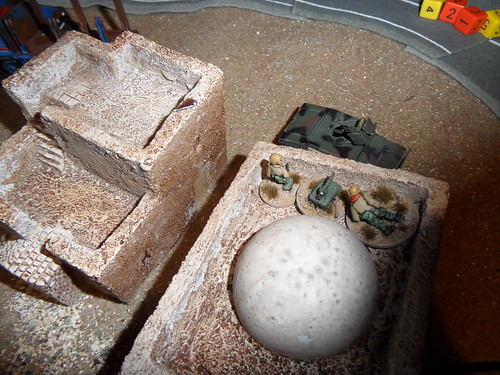
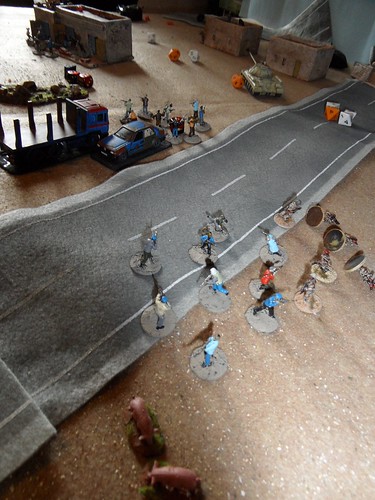
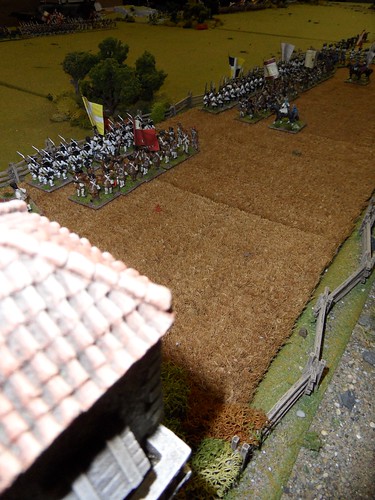
While the very centre of the battlefield is dominated by the large stone church, and acting as a central reserve is Dillon's Irish - a unit with a powerful reputation amongst friend and foe

Dillon's Irish

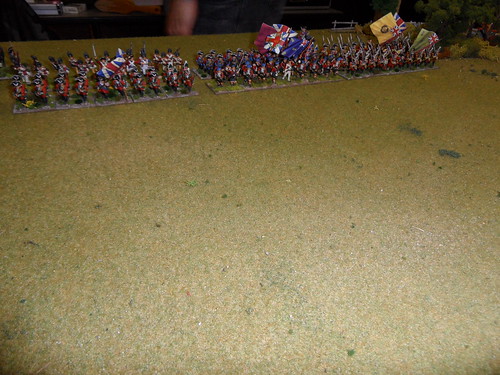
The British have deployed four heavy guns in the centre, supporting an infantry brigade with their powerful bombardment. The French guns in the centre take aim as they begin their march

French guns taking aim

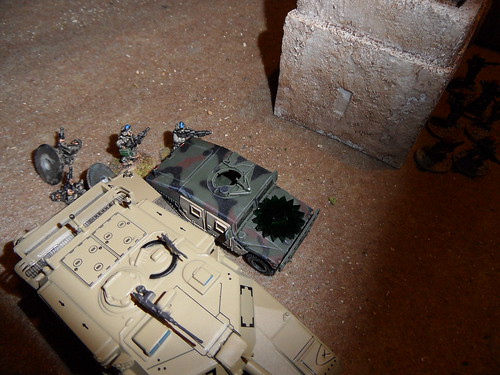
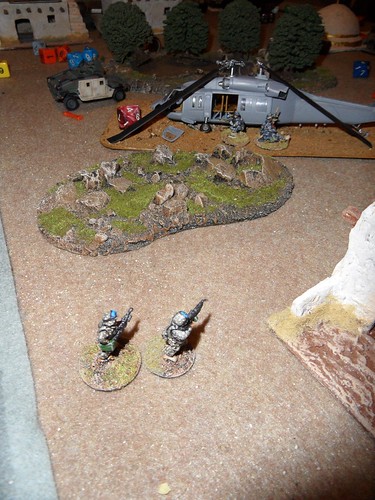
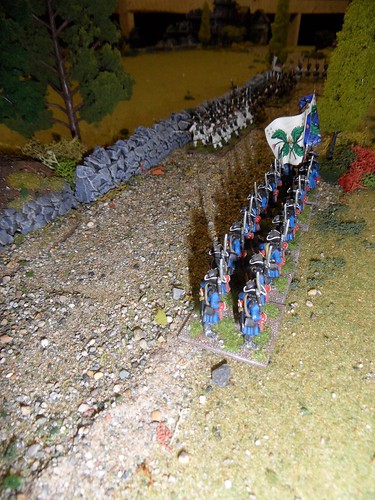
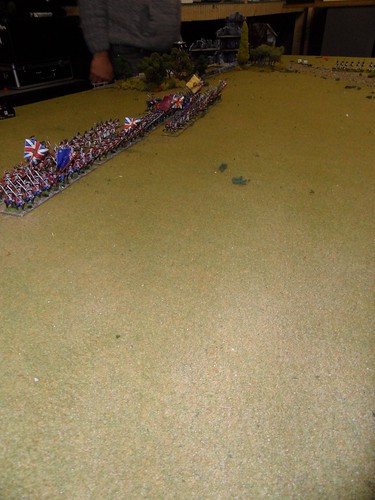
The Scots march to the French right flank, seeking to reinforce the thin line at the wall

Scots marching

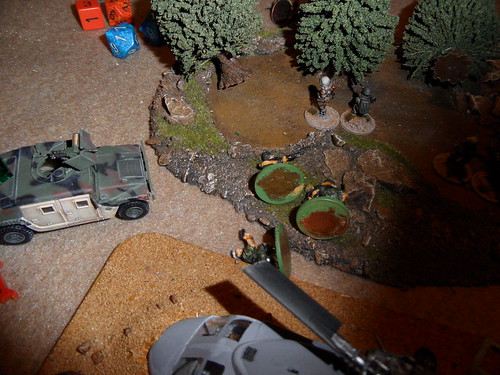
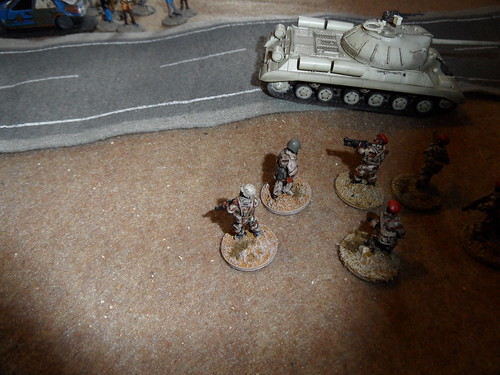
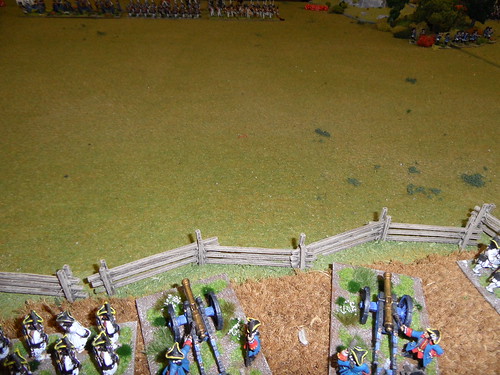
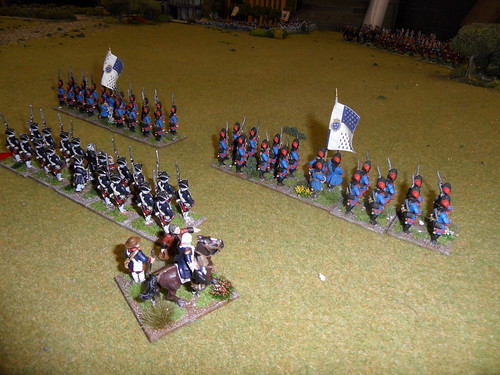
The British right flank deploy into a field - they'll surely prevent any real advance by the French heavy cavalry

British right flank enter field

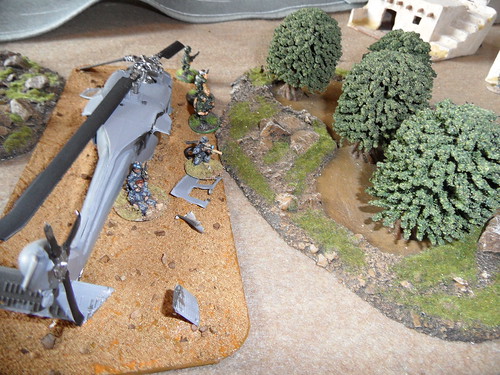
Supported by skirmishing infantry the French cavalry on the right engage the opposing squadrons

Cavalry engagement on the French right

Despite the best attempts of their commanders, the British brigades nearby (who should be advancing towards the stone wall) stand by

British brigades stand to

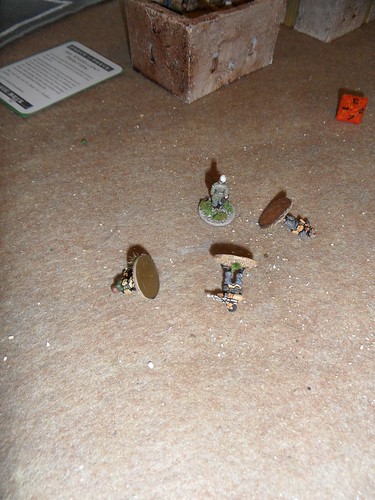
As the British massed squadrons on their right advance the French Grenadiers mark their movement - the British miss-time their slow advance and begin to take surprisingly effective long-range fire from the lone French gun in the corner of the cornfield

French Grenadiers mark British advance

The British Dragoons beat the French cavalry in the charge (damned lightweight hussars!) and drive them from the field!

Dragoons see off French

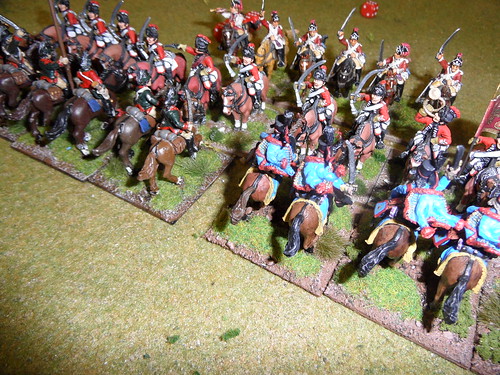
They advance catches the rest of the French cavalry off-balance, hammering into their flank before they can do much of anything - they scarper too!

Sweeping advance into French cavalry reserve

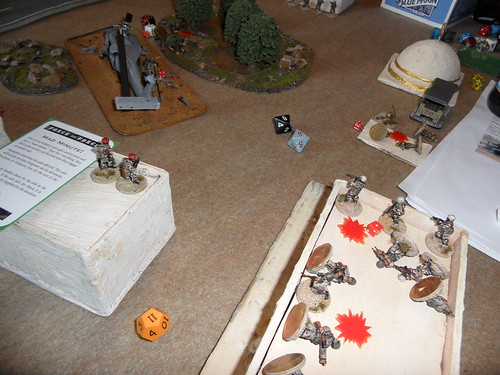
The British squadrons wreak havoc in the rear, dispatching some French infantry as the clumsy formations (no Prussian drill here thank you very much!) struggle to realign to the threat

Wreaking havoc in the rear

The British brigades finally move off towards the stone wall - will there be anything left when they arrive?

British Guard brigade finally move

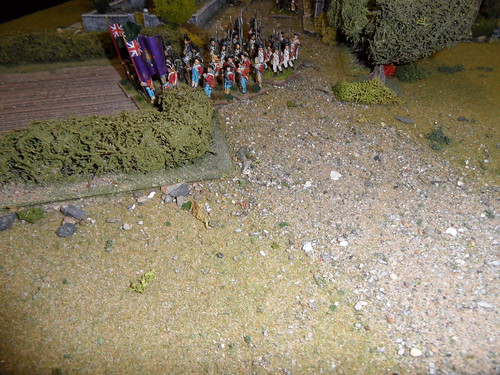
An enormous amount of effort is made to clear the decks of those pesky cavalrymen before the British (one brigade is now identified as being the Guards) arrive

Clear the decks before the Guards arrive

Due to misheard commands (this from a generous witness) Dillon's Irish have marched away from the battlefield. Will they return? Is the entire French right in danger of collapsing? Is there a chance that the battle will be over before the Guards' comrades on the other flank will taste gunpowder?

05 June, 2012

Just Our Luck

A Black Hawk has crashed in the vicinity of Ba’ath party administrative buildings. A rescue mission has been sent in all-guns blazing but the remaining Iraqi Army units in the town see this as their chance to make their mark.


The road to the crash site is long and hard, and the planning routine for both sides at the beginning was interesting. The US players concentrated their discussion on the best lines of strafing for the on-call Cobra. The Iraqi players contended that they should shoot it down, but primarily decided to concentrate everything on overrunning the crash site - while hunkering down to allow the rescue column to pass through the initial defences

Road to Crash Site

As the survivors take cover at the crash site, the sniper team are patched in to the Cobra gunship - it zooms in but the light air defence knocks it out of the sky and all future air missions are put on hold. An air of disbelief gathers over the US players, but they get back down to business sharpish

Survivors taking cover

The leading Humvees go off-road and overwhelm the first Iraqi squad behind the market - they take a lot of hits, sounds like the Iraqis are concentrating fire on the rooftop .50cals

Humvees overwhelm first Iraqi squad

An intense firefight erupts in the square - the sniper team pick off most of the Iraqi HQ, and even the helicopter crew (led by the unwounded crew chief manning the M60) account for a lot of the rooftop Iraqis before taking too much fire

Firefight erupts in square

The third Humvee joins the rush across the marketplace, but while knocking out Iraqi resistance there takes some serious damage to its transmission. It rolls forward to park in an alleyway ahead. The fireteam dismounts from now on

Humvees taking a hammering

On the other flank, the Abrahms has been forced to take a detour around a suspicious object but when it rejoins the fray the HQ Hummer takes a hit, stalling it. The platoon LT and is hit bailing out and the Sergeant has to take on water. Everyone on this side of the battlefield begins to take fire from the rear as one of the Iraqi units bypassed takes to the rooftops and opens up.
The Abrahms is unable to fire its main gun as the barrel is right over the Humvee's bailed-out crew

HQ Hummer takes a hit

The Sagger team lying in wait at the main entrance to the square is surprised by the sudden appearance of one of the Humvees, but it can't get a bead on the fast-moving vehicle before the machine gun suppresses their location and drives through

Sagger team can't get a bead

Meanwhile, at the crash site, the sniper team have moved to the other side of the helicopter to secure that approach against an Iraqi machine gun team and another rifle squad, but when they do that, two small Iraqi groups move in to surround the aircrew - even the Iraqi commanders are getting their hands dirty

Aircrew surrounded

Unleased, the Abrahms shows its ass-kicking powers at full stretch. The nearby Iraqi team which had caused the dismounts from a Humvee some trouble gets some grief of their own. The Marine machine-gun team from the HQ Humvee advances alongside

Abrahms kicks some ass

The first Humvee arrives on the scene, wiping out the Iraqi squad which overran the aircrew - a quick headcount shows that everyone's still there

First Humvee on the scene

The machine gun dismounts arrive on the other side of the helicopter - they help secure the buildings alongside

Dismounts arrive

The Iraqi commander is dragging away a prisoner - looks like the Iraqi captured an injured pilot

Iraqi CO dragging away prisoner

The sniper team rushes to the rescue, taking careful aim at the Iraqi holding their comrade - though exhausted and running low on ammunition, the sniper makes no mistake

Sniper take out Iraqi officer

A close-run victory for the US, coming out of an honours-even 2-2 run-up earlier in the day!

As per my recent convention formula, I'm using the same map in the last scenario as in the penultimate one - this time of course, because I ran two sets of missions simulaneously the 3rd and 4th scenario's setups fitted together for the 5th.

Resplendent Commanders

All five players left standing at the end of the night - prizes were awarded for 'Most Daringly Optimistic Manoeuvre' and 'Acts Above and Beyond All Likelihood'

01 June, 2012

HUMINT

An intelligence asset is stuck in a bad neighbourhood and needs to be rescued. He’s being hunted by a local cadre of a Republican Guard unit and a Special Forces team has been sent in to rescue him.


Amongst the quiet open market, three groups of locals congregate - with a few Republican Guard cadres closing in on the informer, the USMC recon team appear

Quiet open market

The Force Recon Marines throw a bit of a wobbly, just as they've started to engage the Iraqi soldiers, a T-55 rolls into the market square. The Marines don't have any anti-tank capability!

T-55 rolls on

The local mobs hurl abuse at the Iraqi soldiers, who have no luck in trying to identify the traitor amongst them. They are taking serious fire from the Marines, despite the attentions of the tank which is now dominating the battlefield (positionally at least)

Uncooperative Mobs

The T-55's engine conks out, but with the tank commander staying buttoned up (he knows there are snipers out there) the Marine rifle team rush across the open ground and take cover behind the large shop.

Special Forces team hunkering down

Like some kind of action heroes, they dodge 100mm gun fire and hunker down on the rooftop, shooting up the Iraqi squad trying to quell the angry mob and grabbing the informer

Taking Informer out from under their nose

The three marines' luck runs out as they recross the ground with the informer and it's up to the sniper team to intervene

Gunned down in open ground

They scamper out, and get the informer out!

Last minute rescue

No one can quite believe it - with 3 KIAs and 1 seriously wounded man, and under the gaze of a main battle tank, the Marines snatch a victory from the jaws of defeat!

Off to Hobocon to run my Fear, Honour & Interest campaign tomorrow. Will post the fifth and last scenario from the Road to Basrah campaign on Sunday/Monday when I return...

More like this